Whether you’re archiving information or looking to capture a memorable moment on screen, screenshots are an essential part of your digital interactions. These static shots display what’s on your screen at any given instant.
When it comes to Mac , taking screenshots is a breeze, thanks to integrated tools and shortcuts made to meet all purposes. You can capture your screen in different ways with a few simple steps. In this post, we will discover ten efficient and simple methods of screenshotting in Mac .
- How to Take Screenshots on a Mac? 1. Taking a Full Screenshot 2. Capturing a Part of the Screen 3. Capturing a Window or Menu Bar 4. Taking a Screenshot with the Built-In Menu 5. Screenshotting With Preview 6. Taking a Screenshot in a Touch Bar MacBook Capturing the Touch Bar 7. Screenshotting in Mac Using the Built-In App 8. Capturing Screenshots Using Third-Party Apps 9. Recording the Screen in MacBooks
- Final Thoughts
How to Take Screenshots on a Mac?
Taking screenshots on a Mac is simple. Here are the top nine methods to do so:
1. Taking a Full Screenshot
To capture everything visible on your Mac’s screen, follow these steps:
- Press the Command, Shift, and 3 keys on your keyboard at once.

Taking a full screenshot on Mac
- Your Mac will automatically capture the full screen with a camera shutter sound.

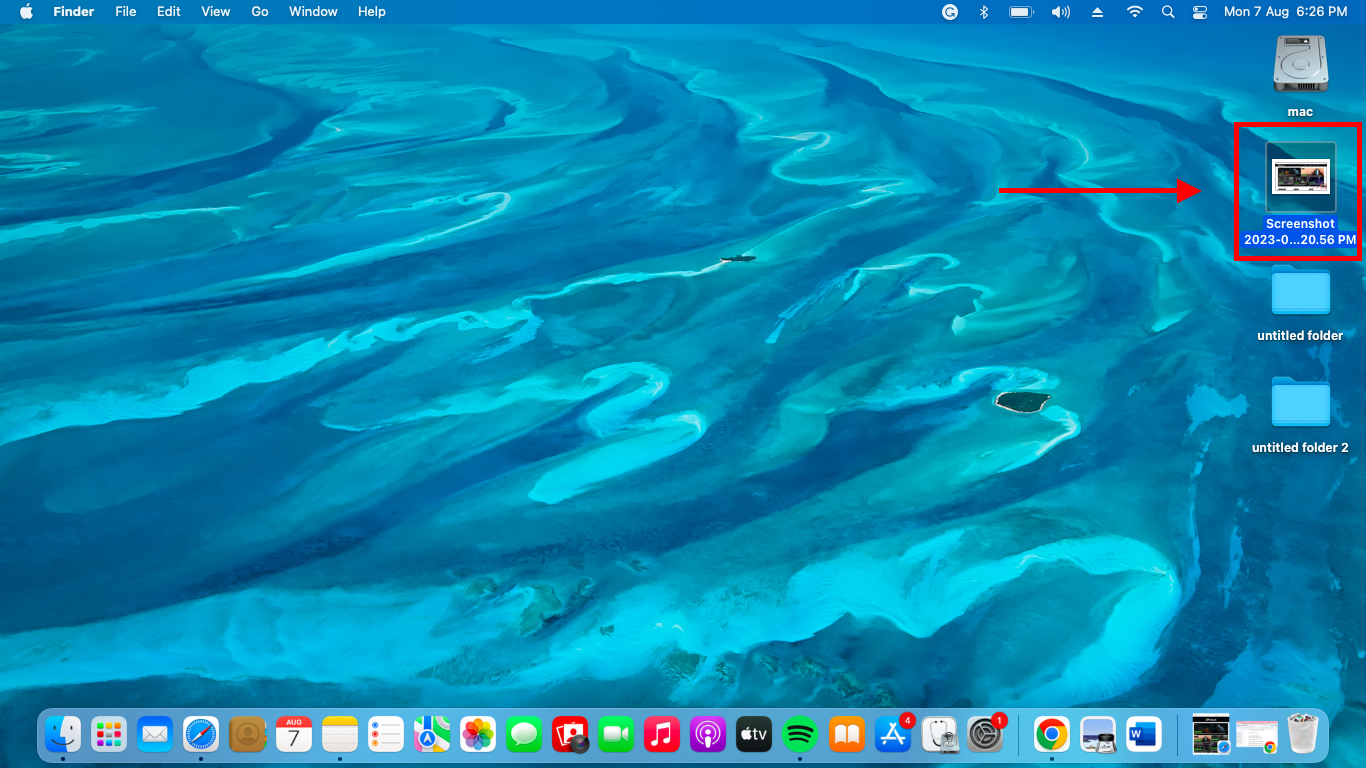
- This screenshot will be stored as a file on your desktop .
2. Capturing a Part of the Screen
To capture a specific area of your Mac’s screen, here’s what to do:
- Press the keyboard shortcut Command + Shift + 4 .

Capturing a part of the screen on Mac
- A crosshair will appear in place of your cursor. Create a selection box by clicking and dragging it around the area you wish to pick.
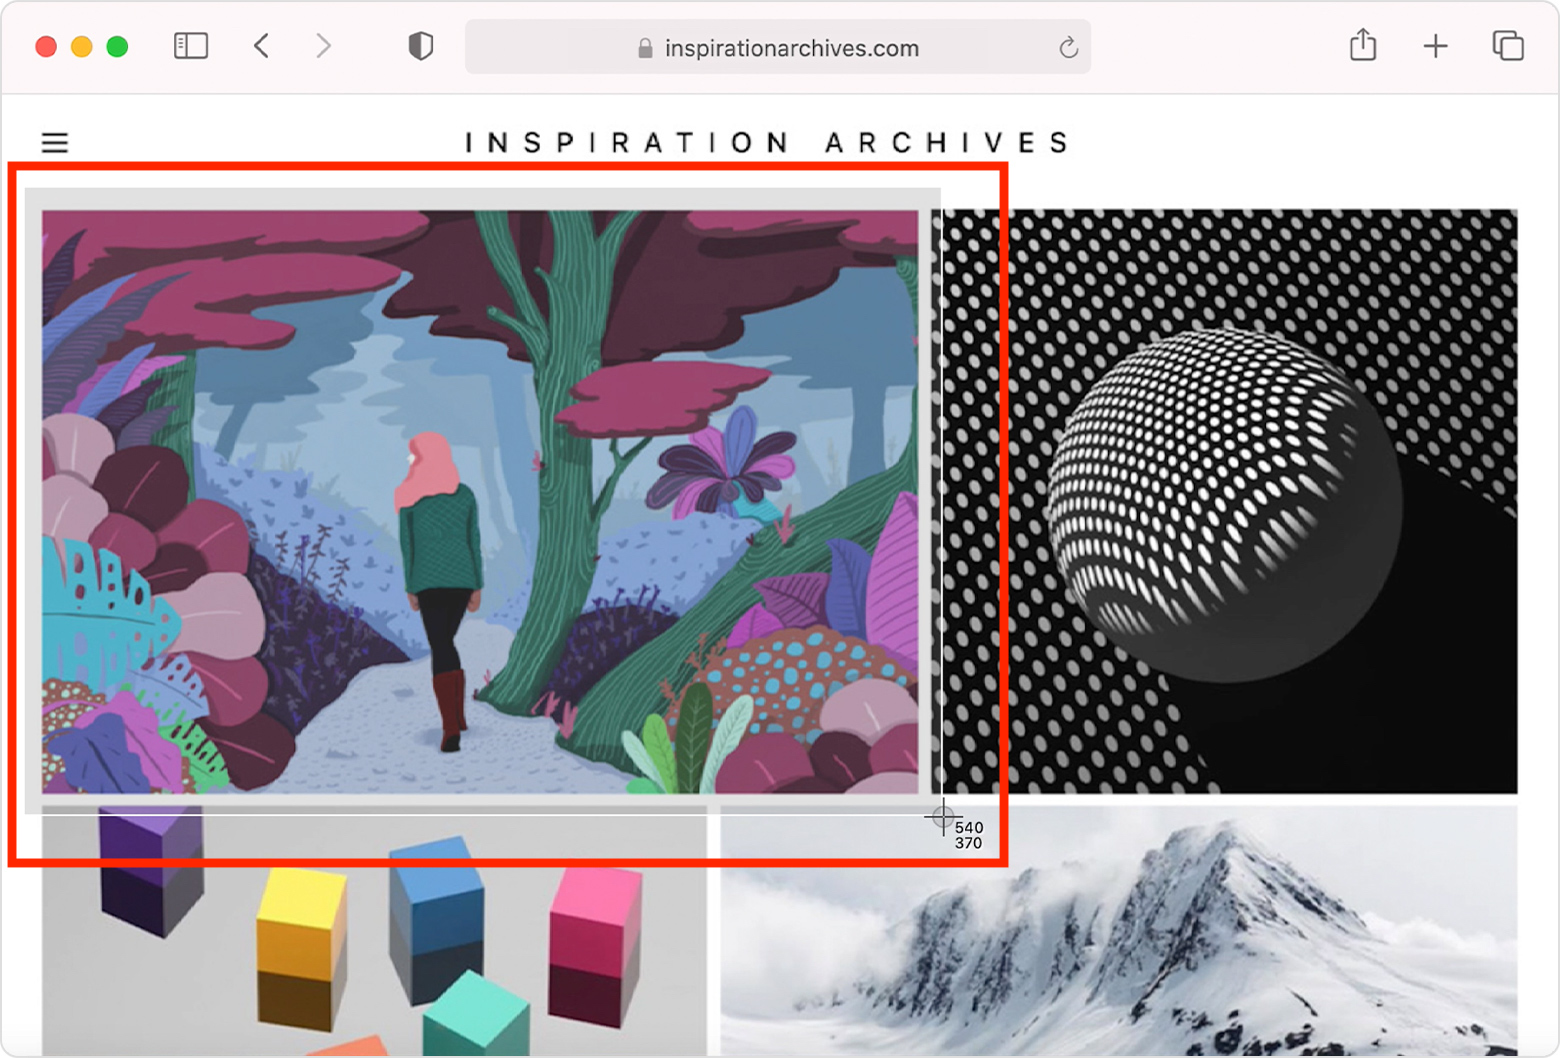
Crosshair to select the area on Mac
- Once done, let go of the mouse button.
- The screenshot will be saved to your desktop.
3. Capturing a Window or Menu Bar
To take a screenshot of a window or menu bar , follow these steps:
- Select the menu bar or window you want to capture.
- Use the keyboard shortcut Command + Shift + 4 to launch the screenshot tool.

Capture a window or menu bar on Mac
- Press the Spacebar to see your cursor change to a camera symbol. You can press the Escape (Esc) key to cancel.
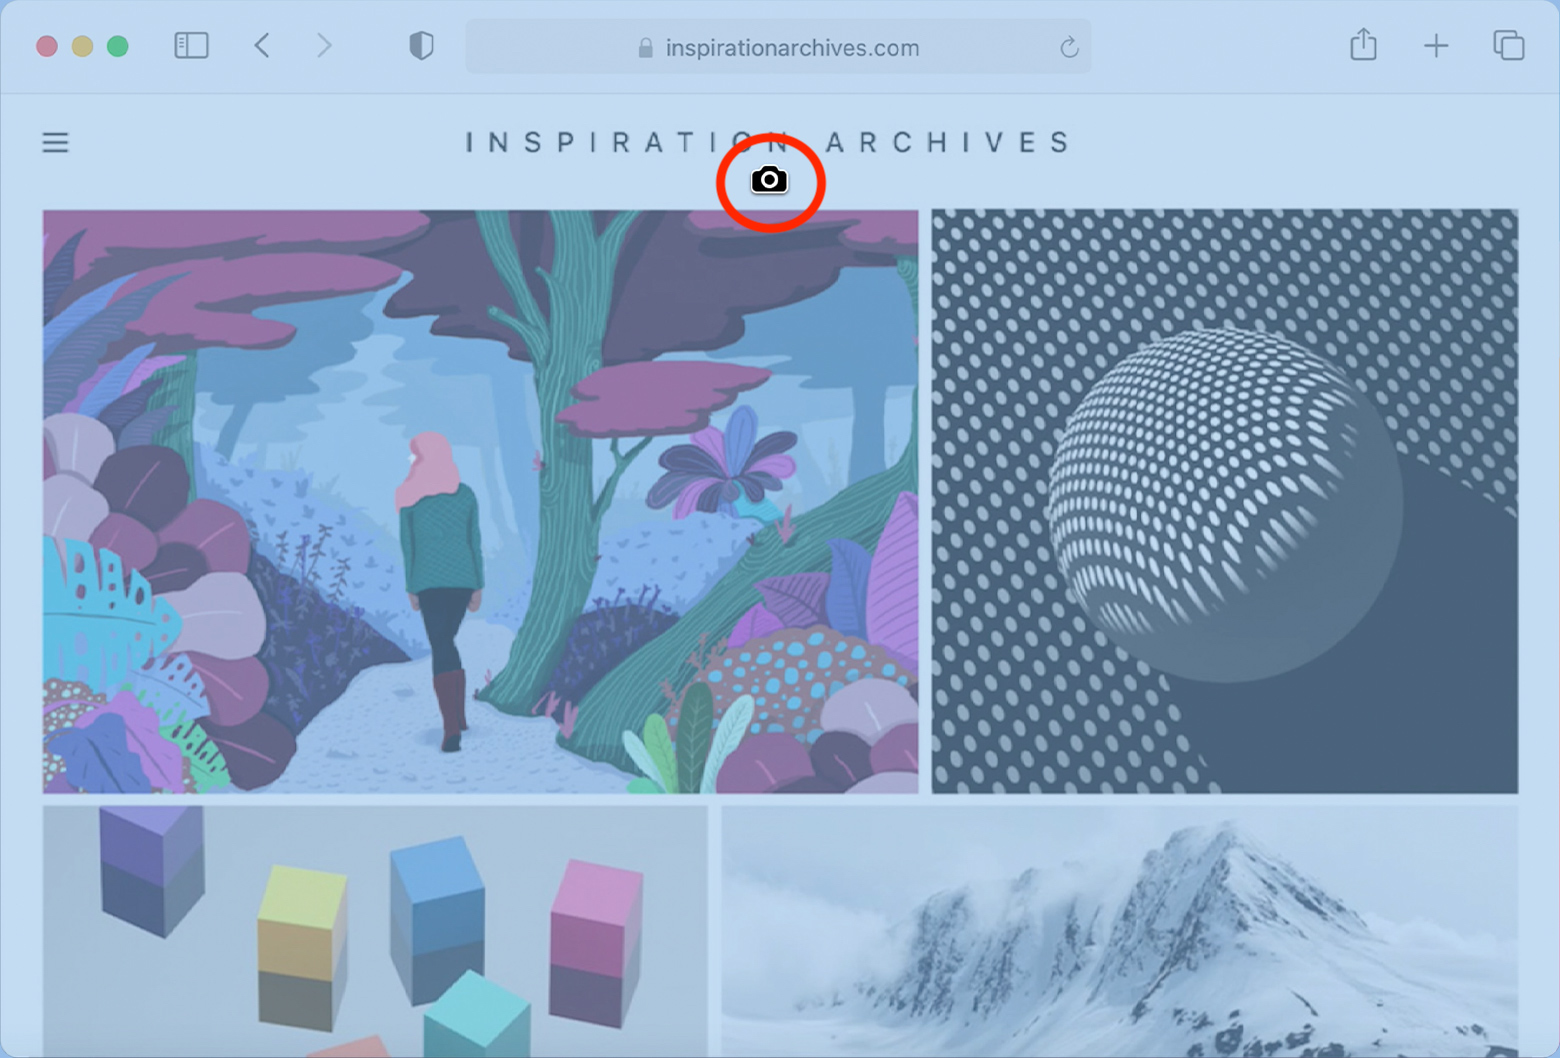
Capturing a window on Mac
- Place the cursor on the menu bar or window you want to capture. When chosen, it will be highlighted.
- Click your mouse or trackpad to take a screenshot.
- You will see a thumbnail at the right corner of your screen and the screenshot you took will by default be stored as a file on your desktop, marked with the date and time.
4. Taking a Screenshot with the Built-In Menu
The built-in screenshot menu makes screenshotting in Mac a breeze. A hotkey combination activates this robust tool with several capturing choices.
Follow these simple steps:
- Press Command + Shift + 5 to access the built-in screenshot menu.
- To take a snapshot of your complete display, click the Capture Entire Screen button .
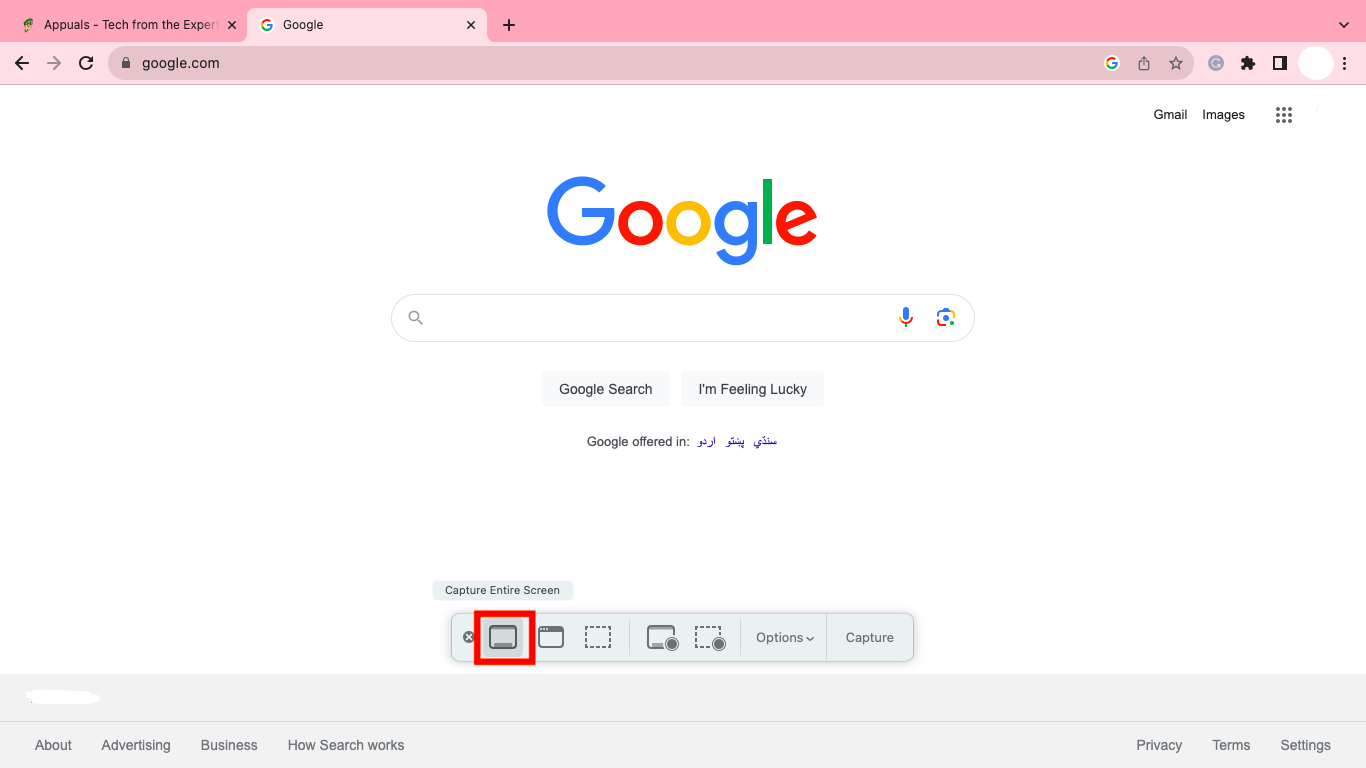
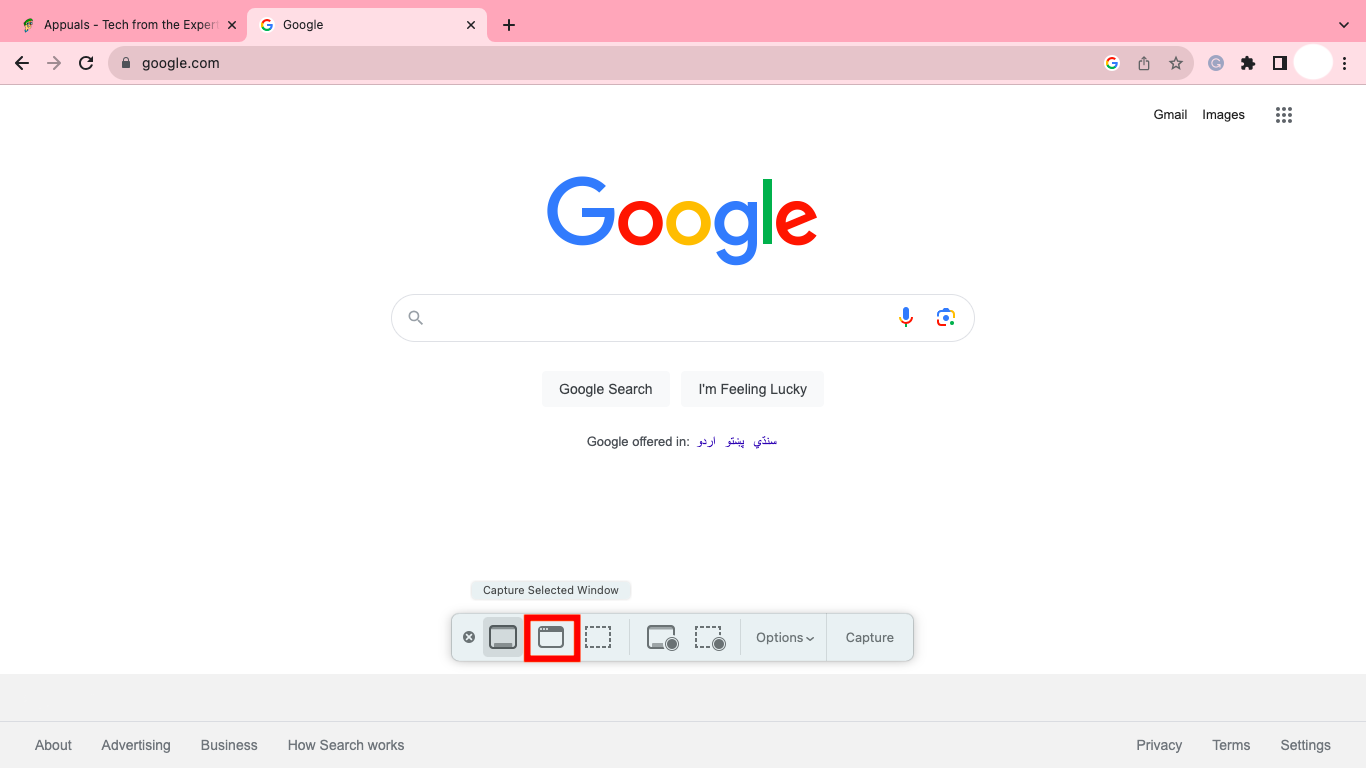
- Select Capture Selected Window to take a picture of the currently active window.
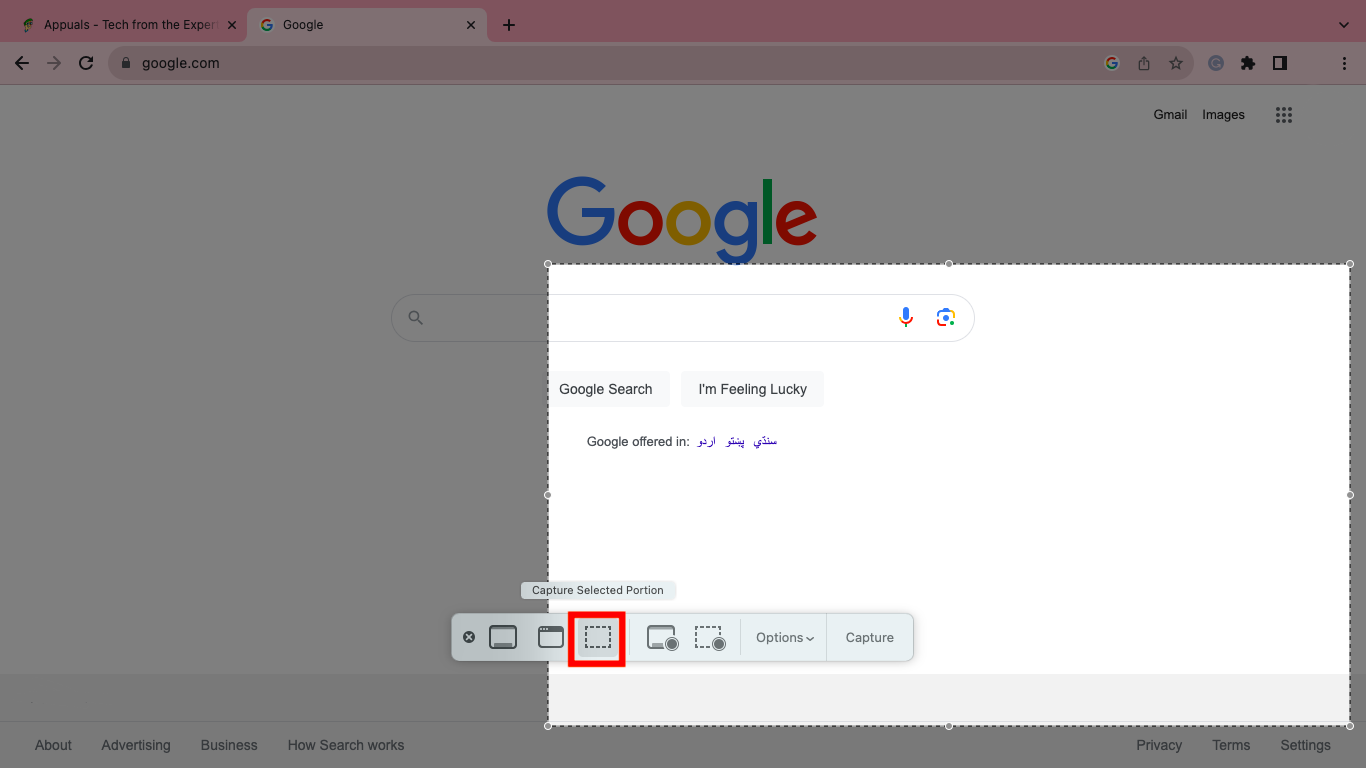
- Choose Capture Selected Portion to create a frame around the particular area you want to capture.
- Click Capture to successfully take a screenshot.
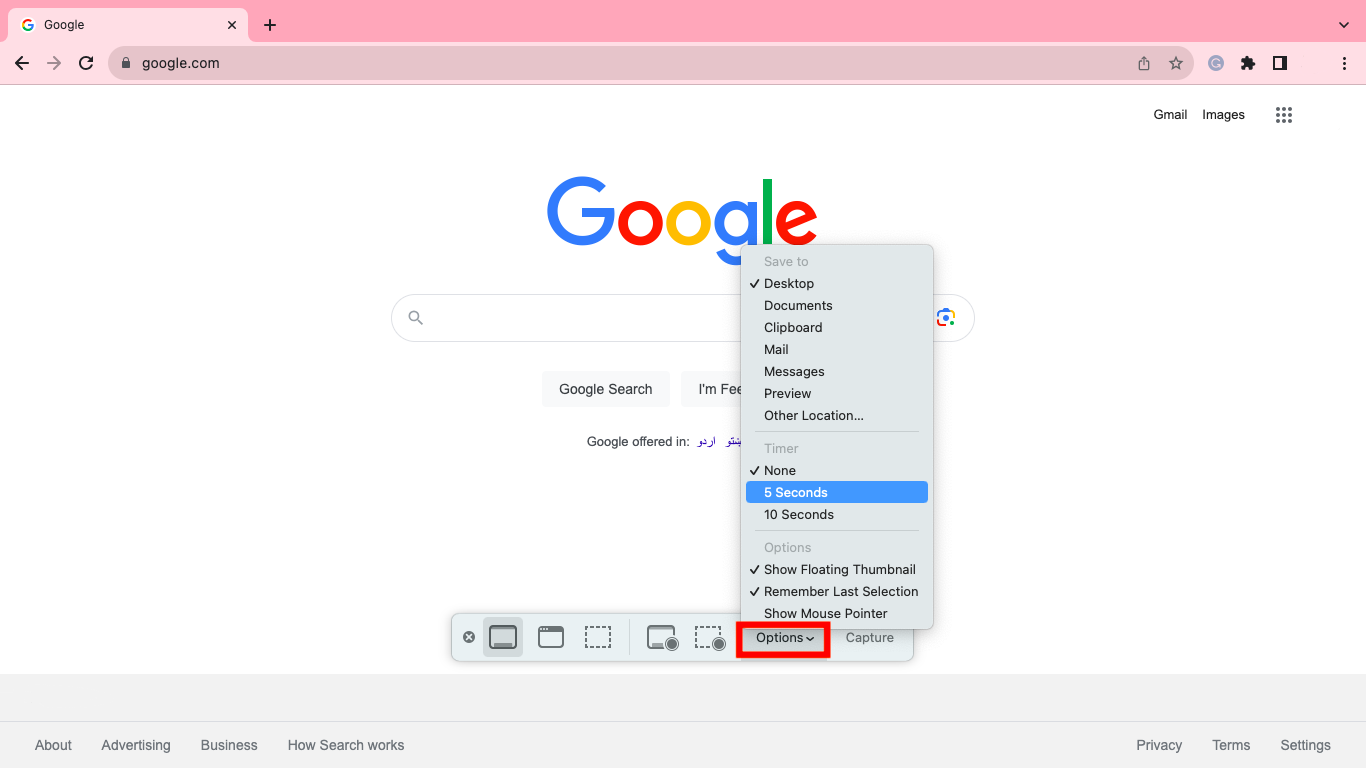
Tip: Click Options to customize controls like where to store the screenshot and whether or not to include the pointer in the snapshot. For delayed catches, you can also specify a timer .
5. Screenshotting With Preview
On macOS , the default program is called Preview , which offers snapshot capabilities in addition to picture viewing.
To use Preview to capture your screen:
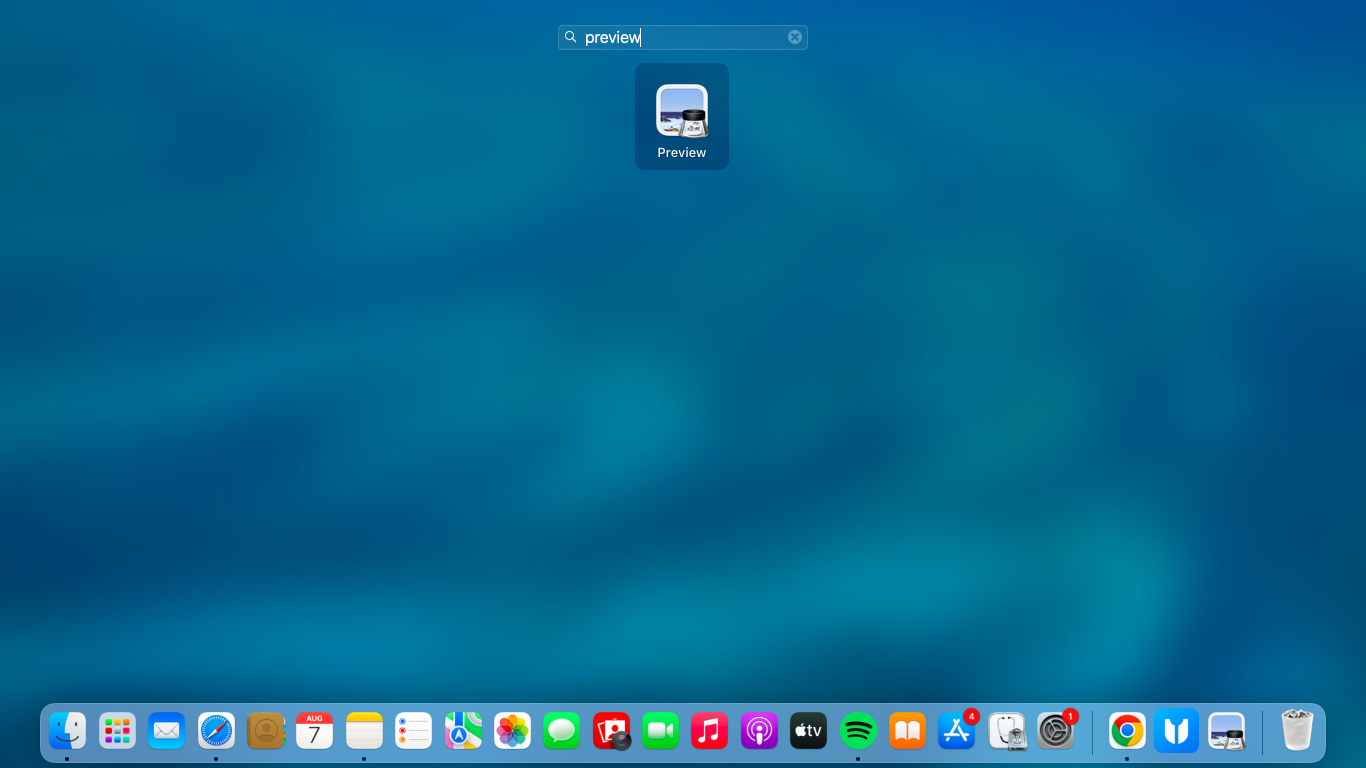
- Launch the Preview app by selecting it from your Launchpad or by typing it into Spotlight ( Command + Space ).
- From the top menu, click File > Take Screenshot .
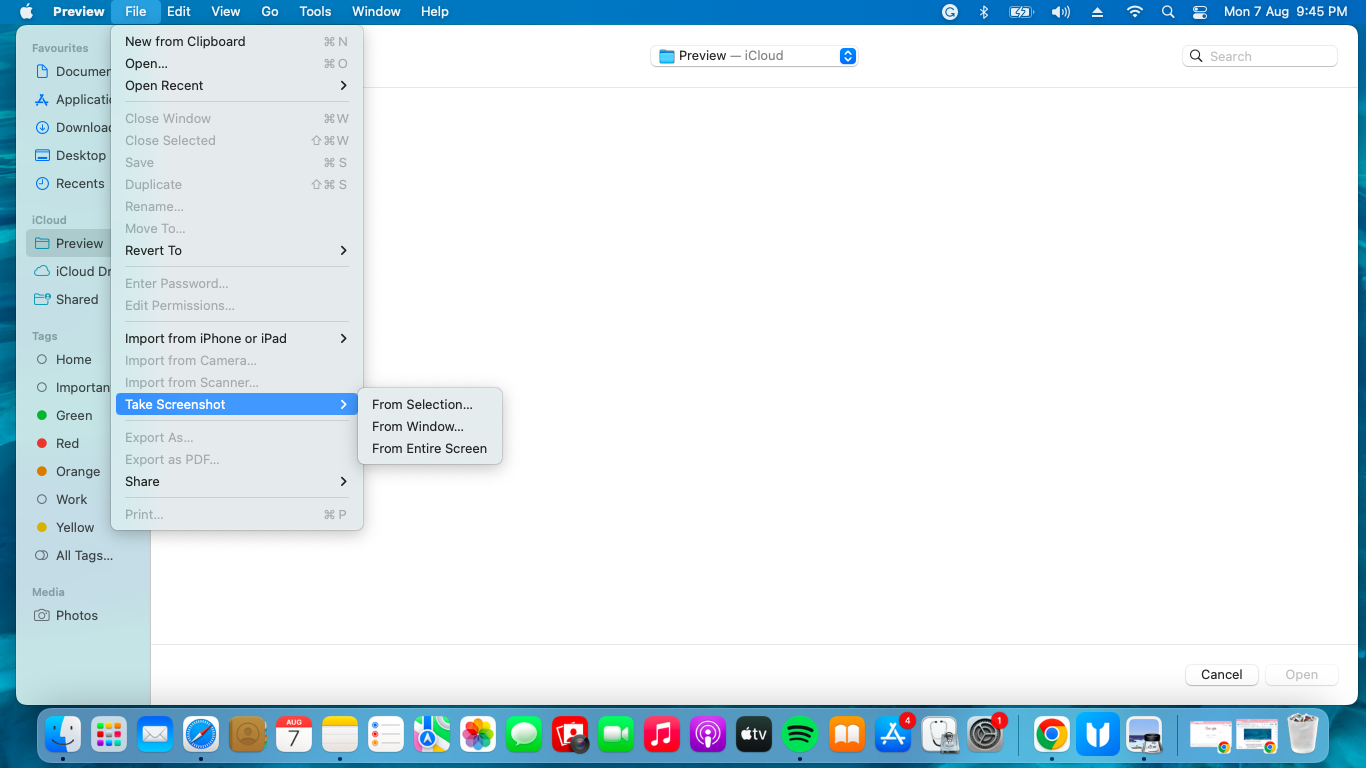
- Select the type of capture from the choices shown in the drop-down menu; From Selection, From Window, and From Entire Screen .
- You can either click and drag to choose a specific region, click on a window to record its content, or capture the full screen.
- Once you have taken the screenshot, a preview will show up on your screen.
- You can save the screenshot by clicking File in the top menu and then Export .
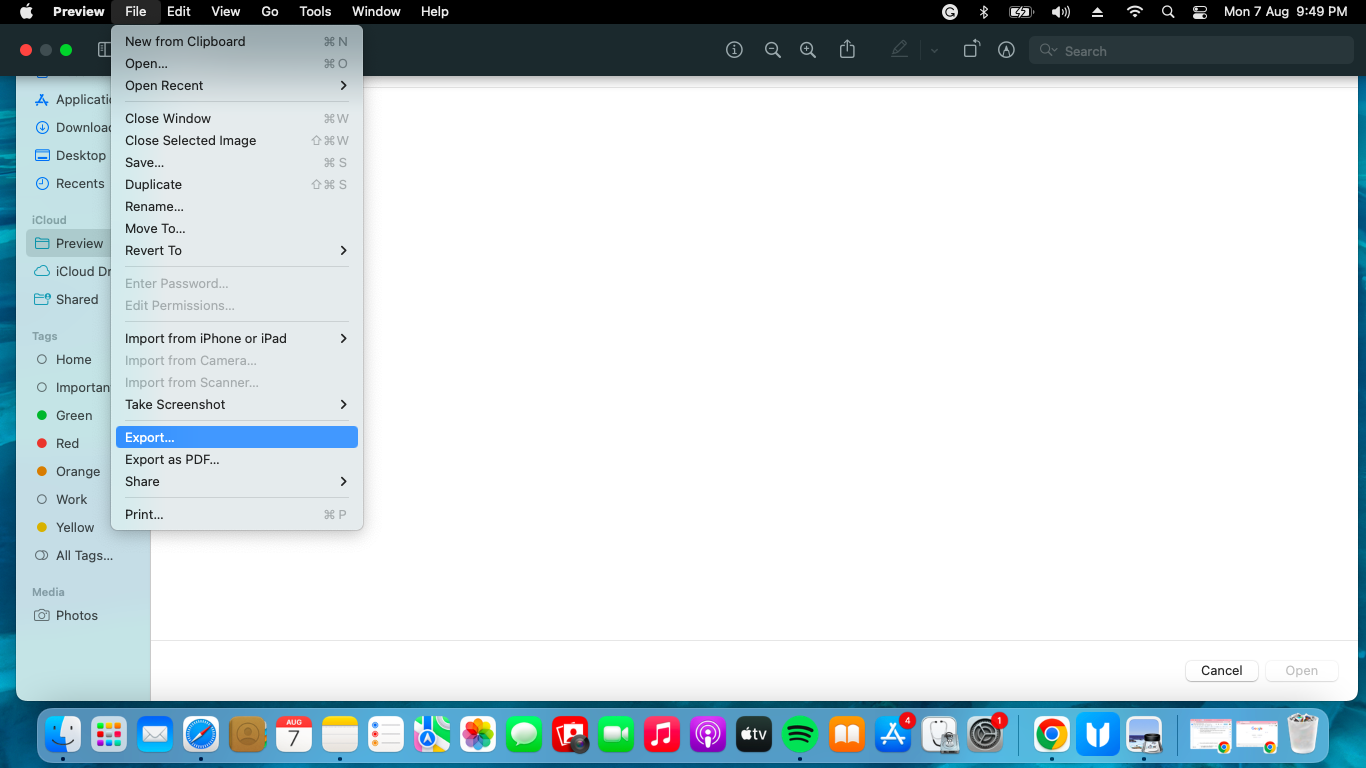
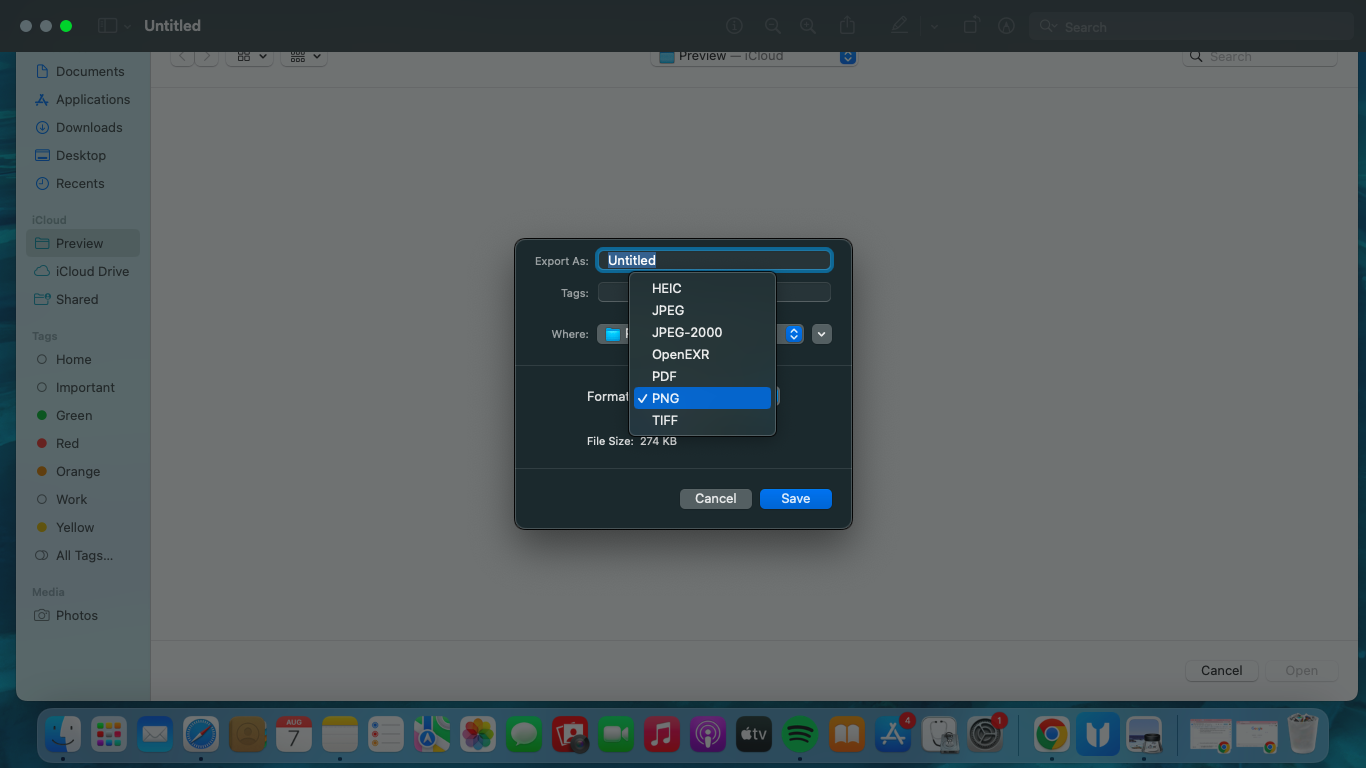
- Select the preferred format ( JPEG , PNG , etc.), rename the file if necessary, and choose a location to store the screenshot.
6. Taking a Screenshot in a Touch Bar MacBook
Touch Bar , an OLED strip placed atop the keyboard, displays context-sensitive controls and shortcuts and is an addition to the latest MacBook Pro . To take a screenshot using the Touch Bar, follow these steps:
- Click the Apple logo on the top left corner of your screen and go to Settings .
- Now click on Keyboard and then select Customize Control Strip at the bottom of the menu.
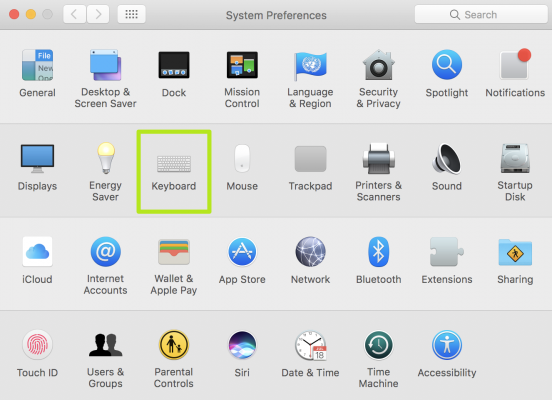
System Preferences on Mac
- Add the Screenshot option to the Control Strip to customize the Touch Bar.
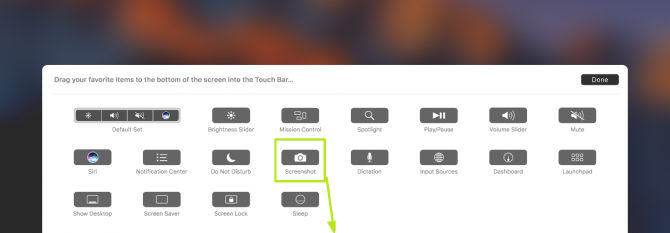
Add the screenshot option to the touch bar
- Drag the Screenshot icon to the Touch Bar for easy access and tap Done .

Tap Done on Mac
- Once added, you can tap the screenshot icon and select from Selected Portion, Window, or Entire Screen to capture the screen.
Capturing the Touch Bar
You can snap a screenshot of the Touch Bar alone by pressing Command + Shift + 6 .
7. Screenshotting in Mac Using the Built-In App
To take screenshots on Mac using the built-in Screenshot App , follow these steps:
- Open the Launchpad and click Screenshot from all the apps.
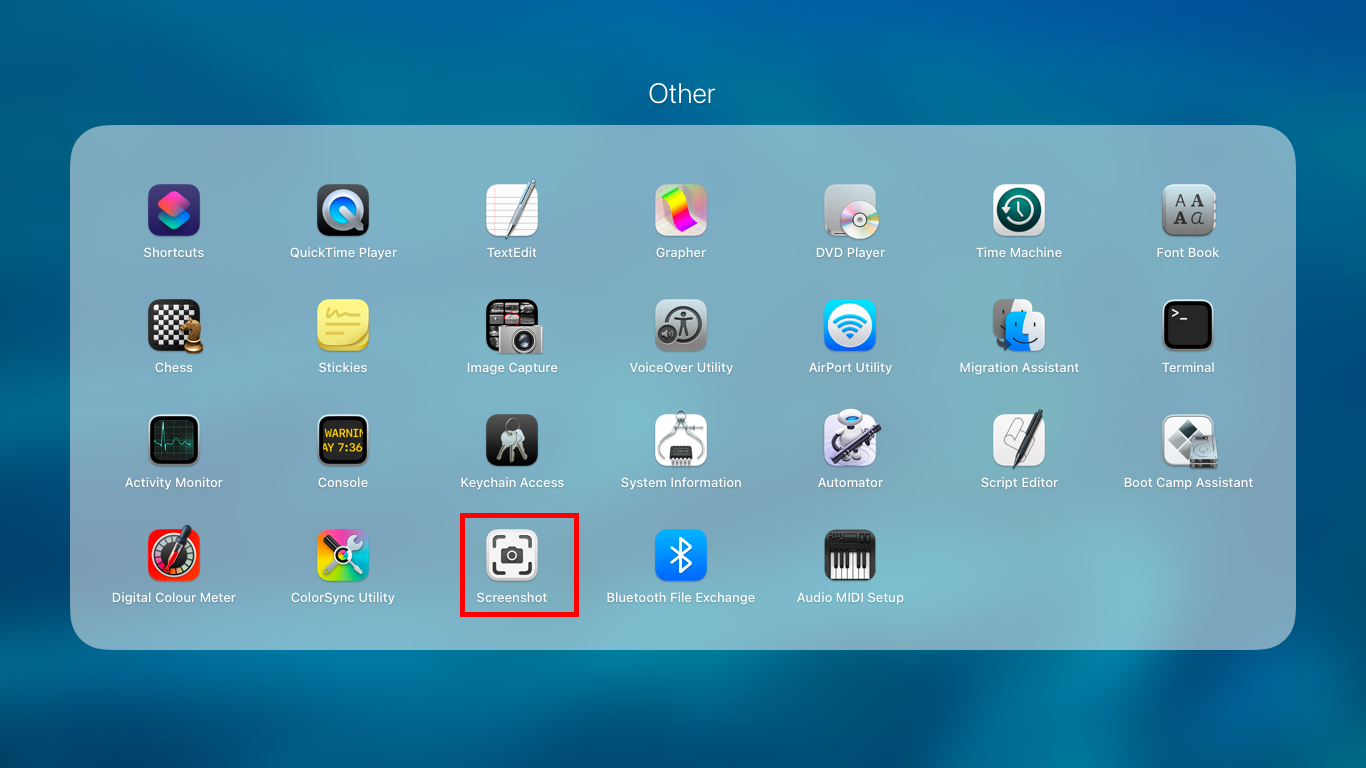
- You can also access it by typing Screenshot in the spotlight by pressing Command + Space .
- Once you click, the screenshot menu will activate itself.
8. Capturing Screenshots Using Third-Party Apps
It’s simple to take screenshots on a Mac using third-party applications like Shottr . These apps often provide added functionality on top of the fundamentals and make sharing these shots easier.
To use Shottr to snap a screenshot, follow these steps:
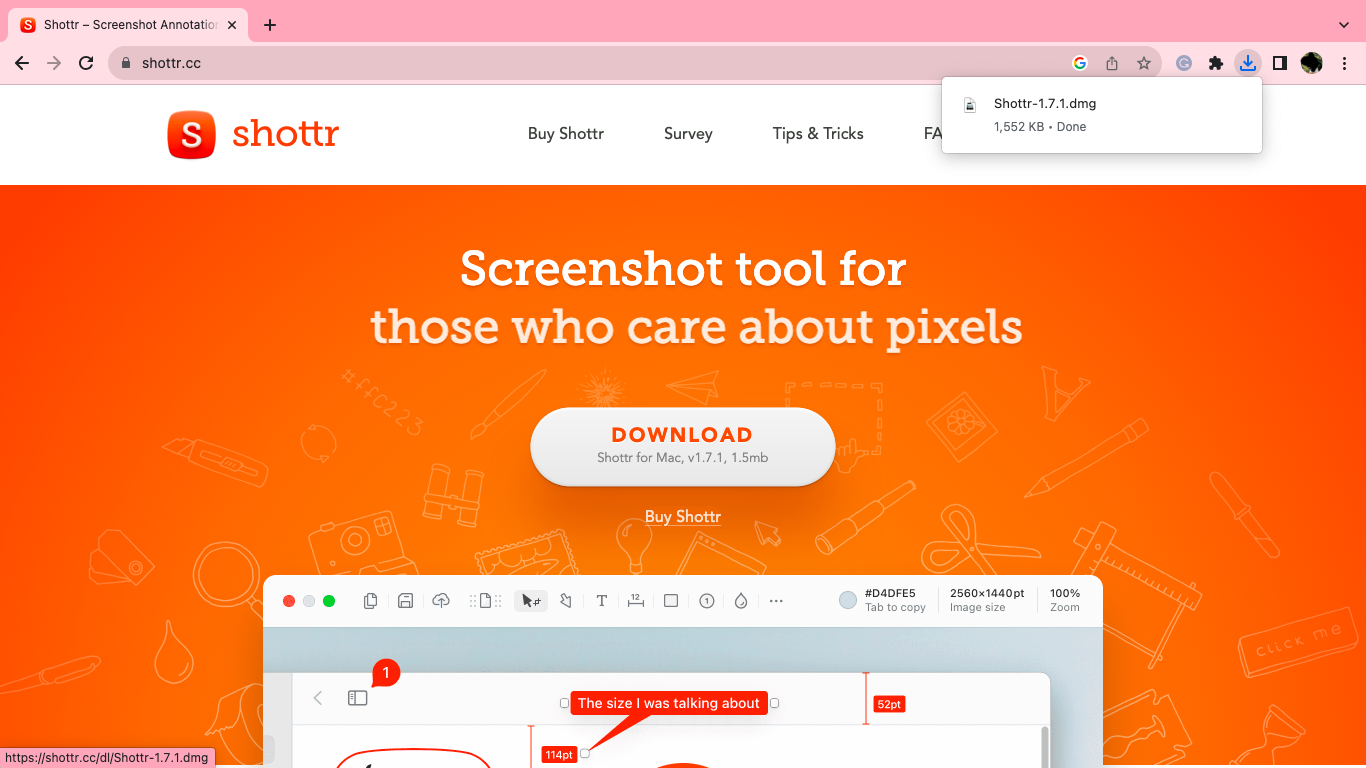
- Download the app from the official Shottr website . Open the installer after downloading it.
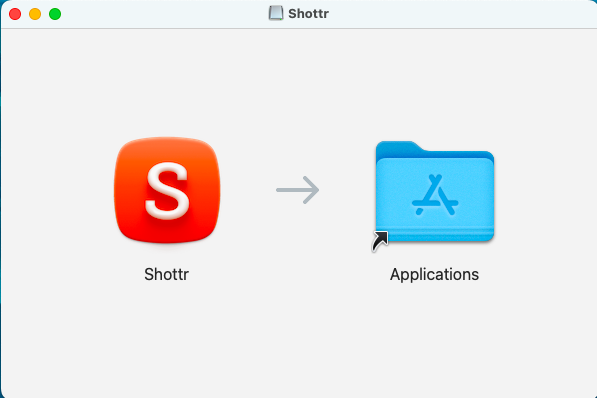
- Drag the app into the applications folder on your Mac by following the on-screen directions.
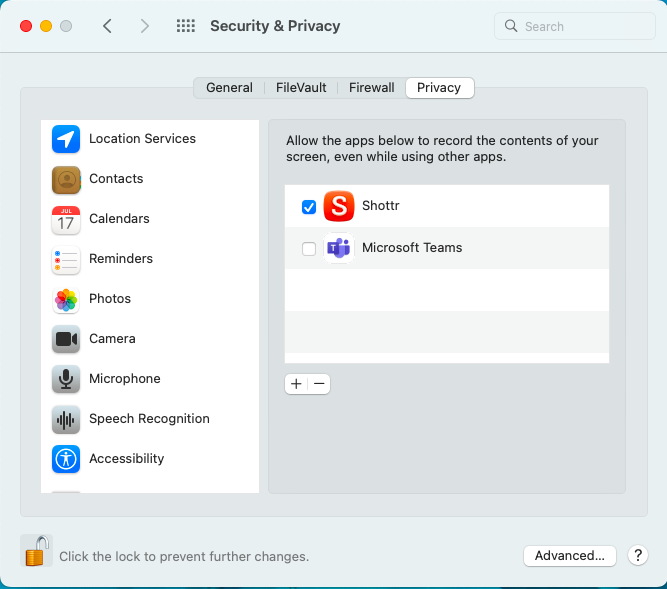
- Give Shottr access to record your screen in System Preferences .
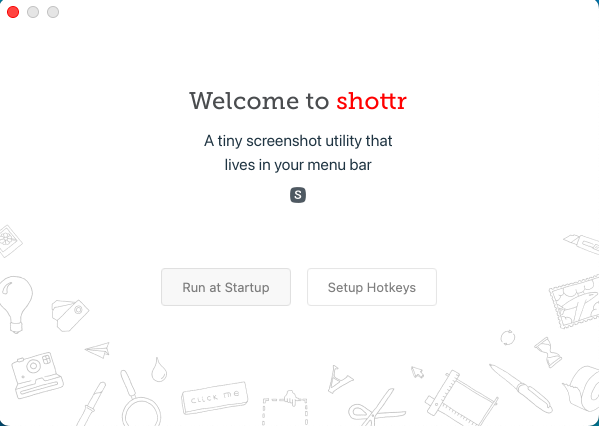
- Open the app and set it up by clicking on Run at Start-Up . You may also set up hotkeys .
- Shottr will now be available on the Menu Bar . Upon clicking the icon, a drop-down menu will open.
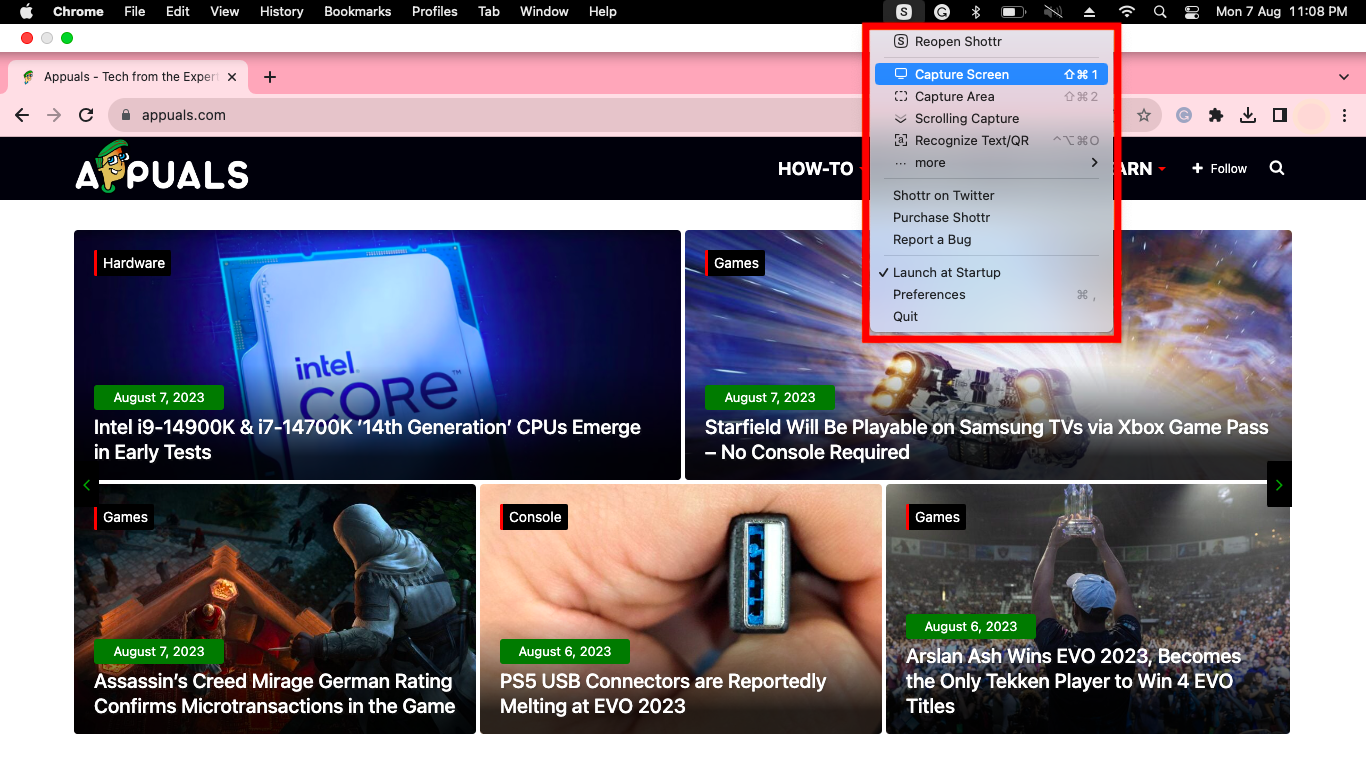
- By clicking Capture Screen , you can take a screenshot of the whole screen. Likewise, by choosing Capture Area , you will be able to snap a selected area of the screen.
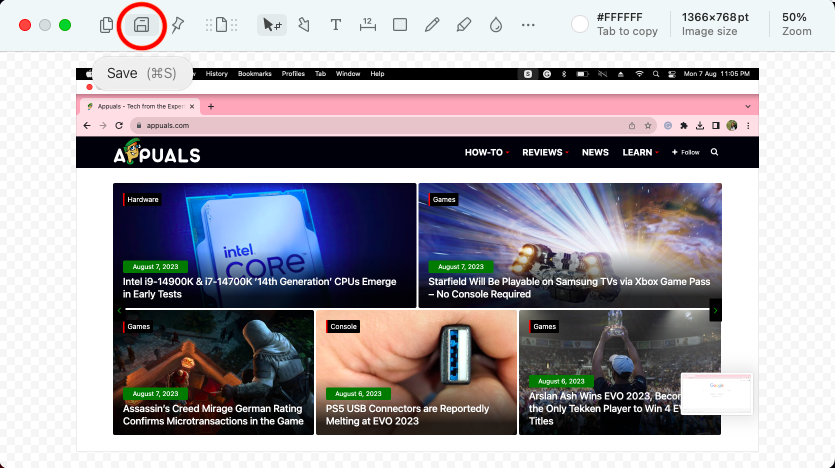
- Once you take a screenshot, a window will open allowing you to edit the screenshot. You can save it by clicking on the icon at the upper left corner .
9. Recording the Screen in MacBooks
Screen recording is a potent tool on Mac for capturing and sharing dynamic content. macOS gives you the option to record your screen natively without any additional tools. To start a screen recording, do the following:
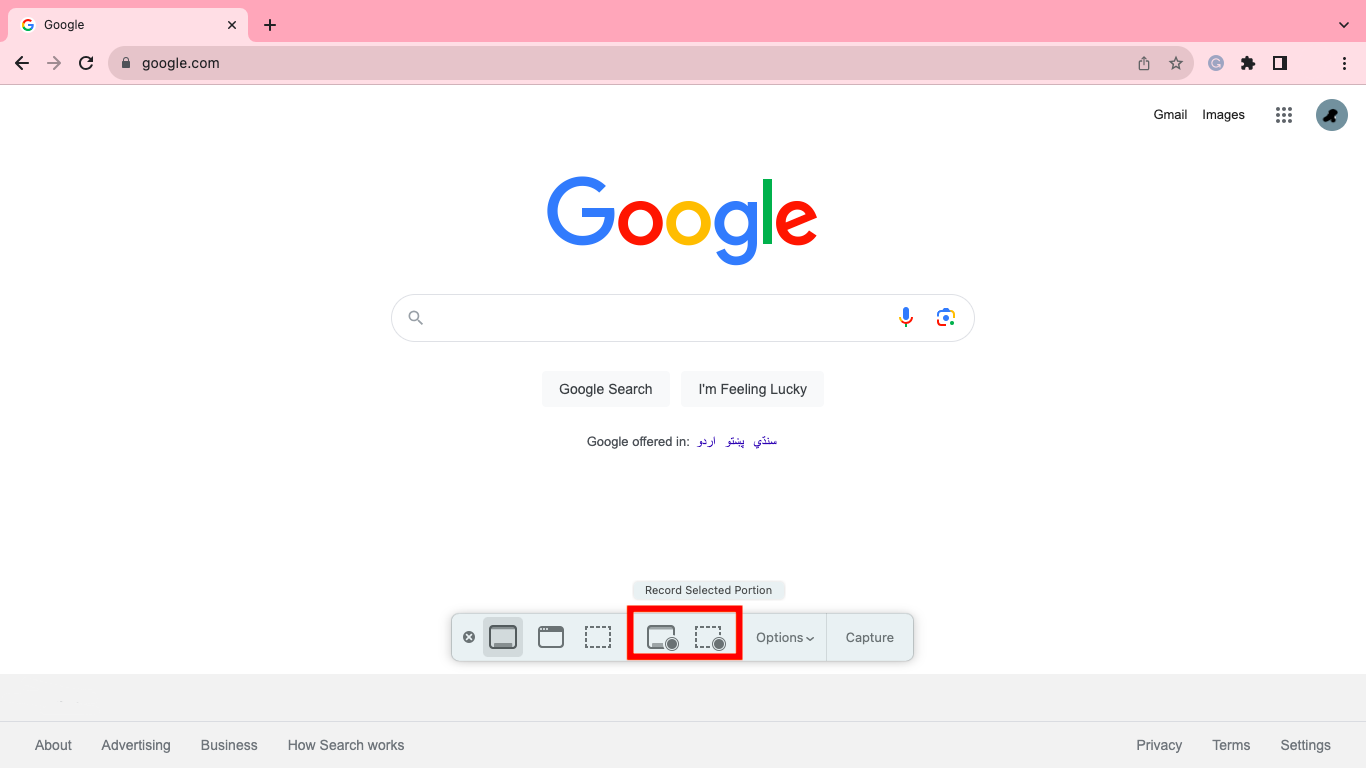
- Press Command + Shift + 5 to launch and access the screen recording toolbar.
- To start the screen recording, choose from the Record Entire Screen or Record Selected Portion options.
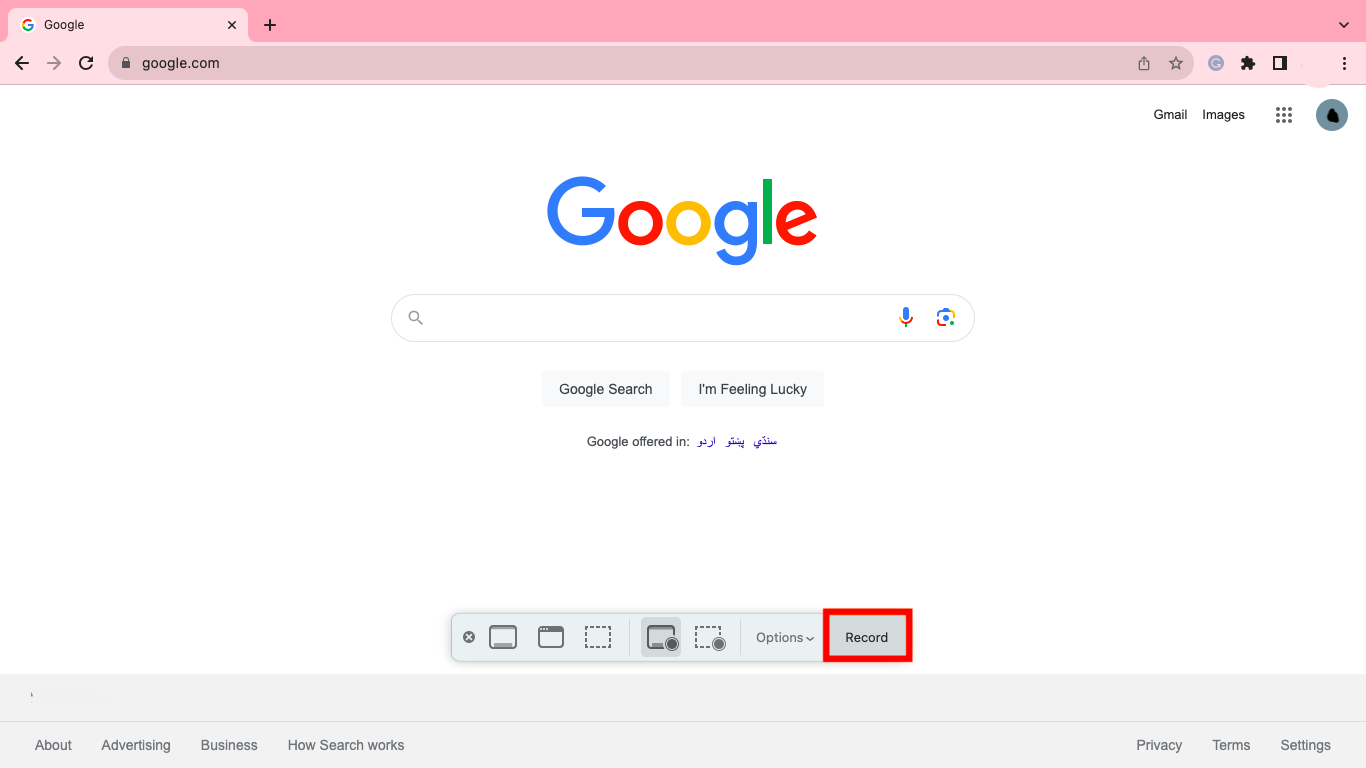
- Once chosen, click the Record button.
- To stop the screen recording, press Command + Control + Esc .
Final Thoughts
In conclusion, screenshotting on a Mac is a straightforward task. You can capture your screen by using keyboard shortcuts, the built-in screenshot app, third-party apps, Apple’s preview app, and your Mac’s touch bar. These methods may be used to snap an entire screen, a particular window, or even a timed capture depending on your requirements.
No, taking a screenshot on a Mac usually doesn’t ruin the quality. Your screen’s resolution is used to capture the screenshots to preserve their original quality. But, if you severely zoom in on the screenshot, pixelation may cause a little loss of clarity.
Yes, by default, screenshots captured on a Mac are stored on the desktop. When you take a screenshot, a thumbnail of the image shows up in the lower-right corner of the screen. You can change the default location in the screenshot settings.
No, a third-party app is not required to take screenshots on a Mac. Built-in screenshot capabilities are available in macOS and may be accessed via keyboard shortcuts or the screenshot app.
