These days, it seems like there’s a brand-new photo editing app released every day, each one offering unique effects and features, alongside intuitive methods to add value to your images.
What about more advanced photo editing needs, such as removing a distracting background from a product shot, merging many images into one, or smoothing out a few wrinkles? In situations like this, you’ll need a more capable image editor, such as Photoshop.
Photoshop is a powerful photo editing software that has a large, devoted user-base. When you hear the words “photo editing”, the first thing that comes to most people’s minds is Photoshop. The two are practically synonymous by now.
However, learning the program can be challenging for newcomers, and it can be costly as well due to Adobe’s subscription-based model. The good news is that various free and low-cost Photoshop alternatives are available. In this article, we’ll discuss a few of the top online photo editors suitable for beginners.
1. PhotoWorks
PhotoWorks is an excellent PC photo editor that balances ease-of-use and powerful features. This program has been made with both professionals and beginners in mind, as it provides both the fundamentals and advanced options for photo editing.
PhotoWorks’s content-aware AI is certainly its strongest selling point since it greatly streamlines the editing process for landscapes and portraits. This photo editor supports various RAW formats , has an easy-to-use interface, and comes with various tools (both beginner and advanced) for transforming an ordinary photograph into a work of art.

PhotoWorks Editor |PetaPixel
PhotoWorks is surprisingly easygoing regarding system requirements, running smoothly even on systems with minimal specifications. In addition to traditional manual alterations, it provides non-destructive editing and a wide variety of instantaneous effects.
One of PhotoWorks’ shining features is its ability to edit portraits flawlessly. With the assistance of advanced face-recognition software and a collection of beautifying presets, PhotoWorks simplifies the otherwise time-consuming process of retouching photographs without reducing the quality of the final product.
With the Face Sculpt tool, you may fix the model’s face if it was damaged due to poor lighting or an unusual camera perspective, elevating portrait retouching to a new level.
2. Canva
Canva is a web-based graphic design application that costs nothing. It does have a premium, paid version that unlocks a host of advanced features, but those are optional. This tool is a favorite of many seasoned bloggers and social media veterans. You don’t need prior knowledge or experience with picture editing to have fun with it.
Canva provides a selection of templates customized to your social media platform, making it easy to quickly and accurately alter images for sharing across pretty much every app or site.
Different filters are available, and users can add text, icons (comparable to “stickers”), styles, and borders to their photos. Canva allows you to adjust the image’s color, saturation, brightness, and intensity, but it doesn’t let you “photoshop” out small features or imperfections.

Canva Editor |Canva
Canva also provides its users with online tutorials and instructional modules to assist them in learning the fundamentals of graphic design. If you need help deciding on the right fonts, images, and colors for your graphics, you should have a look at their recommendations.
Users with Photoshop experience may find Canva too simplistic, but it’s a fantastic choice for those just starting in the field or anyone looking for quick, one-off edits to make their images stand out just that much more.
3. Photopea (Web)
Photopea’s interface is identical to Photoshop’s and has the functionality to back it up. It can read PSD files , edit RAW files, and export edited or newly-created PSD files. The ability to import ABR files and apply custom brushes sets it apart from the other programs on this list.

Photopea Editor |Photopea
You’ll be impressed by Photopea’s creative design. The whole concept is that you won’t even notice that you’re using a web app; it has the same feel as Photoshop. Photopea is the most visually pleasing free Photoshop replacement on the internet today. Still, it lacks the conveniences of its paid version, such as one-click filters and user-friendly settings.
4. GIMP
GIMP is a powerful alternative to Adobe Photoshop that offers many similar tools. Those who need to work with many image types (PSD, PNG, JPG, etc.) and design their own filters and tools will find GIMP an ideal choice.
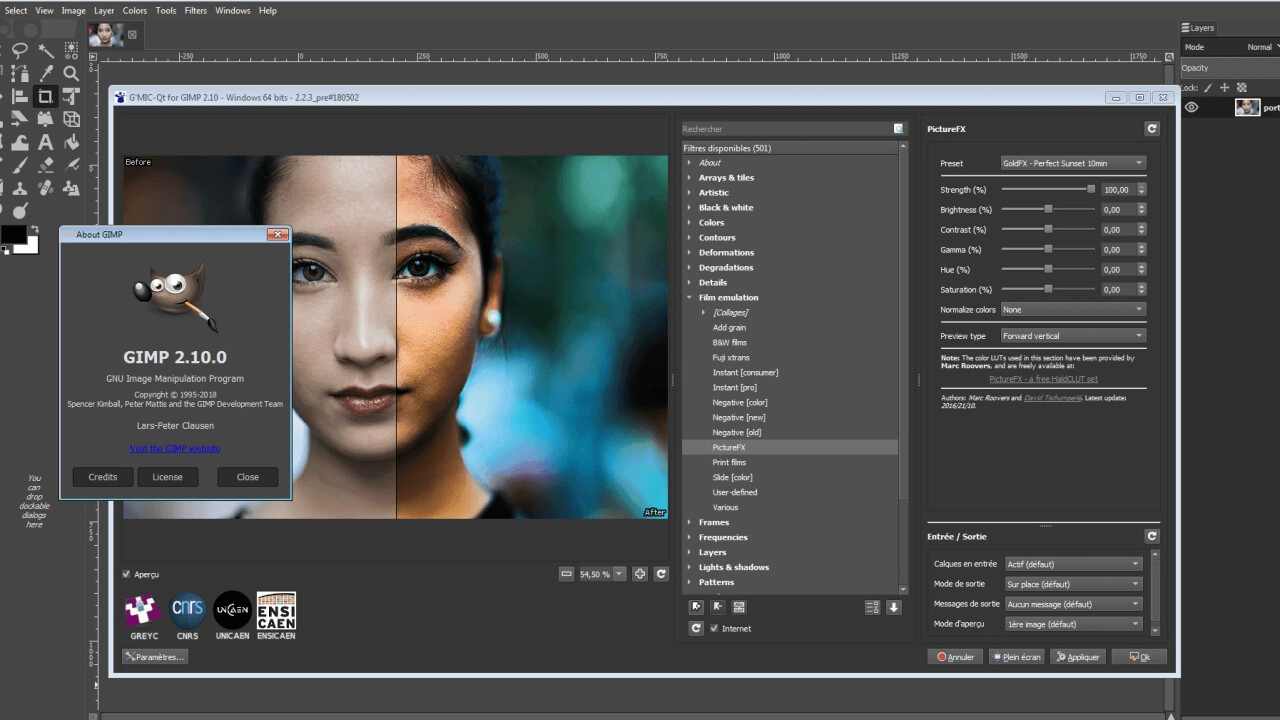
GIMP Editor |TheNextWeb
GIMP’s interface will seem and feel extremely familiar if you’re familiar with Photoshop. There are a lot of options that look and function similarly. For those who have never edited an image before, GIMP’s Documentation website offers a wealth of guides appropriate for users of all experience levels.
5. Pixlr E
Pixlr E is a free image editor, graphic design software, and batch editor that can be used by novice editors and editors with more experience who are pressed for time. Tools are conveniently placed, and the UI is intuitive. Depending on your preference and level of expertise, you can use the fast, automated option or take your time with the manual settings.

Pixlr E |Pixlr
This free Photoshop alternative is excellent for short edits, but the rendering time was so long that experts recommend finding something else to do in the meanwhile.
6. Krita
Krita is a great alternative to Photoshop if you’re interested in digital painting as well. Creators develop open-source software intending to make their work freely available to the public at little cost. In addition, Krita has concentrated on developing tools that they are aware artists demand and require. The brush tools really stand out when you use them; there are various brushes, brush engines, and brush stabilizers.

Krita Editor |Krita
Krita 5 is the latest update, and it addresses several issues with the user interface and faults related to tagging and loading resources. The gradient tools have been enhanced, and the software’s overall speed has been increased. Users familiar with Adobe Photoshop will feel right at home with this interface.
7. Affinity Photo
Affinity Photo is a great option if you’re looking for a Photoshop alternative that is just as capable. It works flawlessly with PSD and various other file types, making it a great option for serious picture editors. The nicest part about Affinity Photo is that it is becoming increasingly affordable compared to pricey tools like Adobe Photoshop.
Furthermore, users can anticipate the same functionality, features, and image-enhancing tools as are available in Photoshop. In addition, the software is compatible with both Windows and Mac. You can also use the app on your iPad, which is an exciting benefit if that’s where you do most of your image-making.

Affinity Photo Editor |Affinity Serif
Affinity Photo has various additional tools that make it easy to perform typical photography tasks like panorama stitching, focus stacking, and HDR merging . Its five Persona buttons, located in the top left corner, set Affinity Photo apart from other image editors.
These buttons allow you to customize the application’s toolkit to the needs of the many roles you can play within the program. The design capabilities of Affinity Photo are commendable. Use the Artistic Text Tool for titles and headings, as well as for smaller sections of text.
Final Thoughts
Photoshop’s interface can sometimes be extremely complicated and time-consuming to learn. Plus, it is a costlier option than other photo editing tools. You can get the same results as Photoshop, but with much less learning and effort, by switching to one of the user-friendly alternatives described above.
You can use these programs to add animation to images, adjust colors and layers, add artistic effects, and create digital masterpieces. But remember, at the end of the day, a tool is only as good as the artist using it. Let your creativity run wild!
How to Fix “Printer is in an error state” Issue?
The error “ WinRAR Error: Next Volume Is Required ” usually appears when you’re extracting a multi-part RAR archive and WinRAR can’t find (or can’t correctly identify) the next file in the sequence . This often happens when a volume is missing , stored in a different folder , or renamed in a way that breaks the archive’s expected order .

In this guide, we’ll go over the most reliable fixes confirmed by affected users, along with what each method is doing behind the scenes so you can choose the right one for your situation.
Important: To extract multi-volume archives, you should always start extraction from the first file in the set. This is usually file.part1.rar , or (in older sets) the main .rar file that comes before .r01 , .r02 , and so on.
1. Download and Place the Missing RAR File
WinRAR needs all parts of a multi-volume archive to complete extraction. This error usually appears when one of the volumes in a set like .part2.rar , .r01 , .r02 , .001 , and similar naming formats is missing . Downloading the missing volume and placing it in the same folder as the other parts allows WinRAR to continue extracting normally .
- Look at the error message or review the list of archive parts in the folder.
- Identify which volume is missing (for example, part2.rar , .r02 , .001 , etc.).
- Go back to the website or source where you downloaded the archive.
- Locate and download the exact missing file using the same naming format as the others.
- Make sure the new file name matches the pattern of the rest. Example: If you have file.part1.rar and file.part3.rar , the missing one must be file.part2.rar .
- Move the downloaded missing volume into the same folder as the other archive parts.
- Confirm that all parts are in a single folder before extracting.
- Right-click the first file in the series (usually part1 or the main .rar file) and select Extract Here or Extract to Folder .
- WinRAR should now detect all volumes and continue extraction normally .
2. Manually Browse & Select the Next Volume
Use this method only if the next volume already exists , but WinRAR is failing to detect it automatically. This can happen due to incorrect naming , the file being in a different location , or a temporary file access issue. Manually browsing helps WinRAR locate the correct volume and resume extraction without interruption .
- Right-click the first file in the series (usually .rar or part1.rar ) and select Extract Here or Extract to Folder .
- When WinRAR cannot find the next volume, it will show the “ Next Volume Is Required ” message.
- A small window will appear, allowing you to manually select the next volume .
- Use the file explorer window to locate the folder where the other archive parts are saved.
- Select the next part based on the naming order (example: select file.part2.rar after file.part1.rar ).
- Make sure the selected file matches the naming format of the archive (no extra characters like (1) and no mismatched numbering).
- WinRAR will resume extraction using the selected volume .
- If additional volumes are missing or stored separately, WinRAR may prompt you again. Repeat the same process until extraction completes.
3. Rename the RAR files in Order
WinRAR relies on a proper naming sequence (such as file.part1.rar , file.part2.rar , file.part3.rar ) to extract multi-volume archives. If a file is named incorrectly, contains extra characters, or is out of order, WinRAR may fail to locate the next volume and show this error. Renaming the files correctly helps WinRAR follow the sequence and extract the archive without interruptions .
Note: Renaming only changes the file name , not the file contents. The goal is to restore the correct sequence so WinRAR can detect the next volume.
- Go to the folder where all the RAR files are saved.
- Make sure all parts of the archive are present and stored in the same folder .
- Check how the parts are currently named . Common patterns include:
file.part1.rar, file.part2.rar, file.part3.rar
file.rar, file.r01, file.r02, file.r03
- Look for files that don’t match the expected numbering pattern (for example, file.part01.rar , file.part1(1).rar , or unrelated names).
- Rename each file so it follows the same order without extra characters or mismatched numbering. Example:
Incorrect: file.part1.rar, file.part3.rar, file.part2(1).rar
Correct: file.part1.rar, file.part2.rar, file.part3.rar
- Make sure the text before the number is exactly the same for all files.
- Only the last part number should change.
- Right-click the first file in the series (usually part1.rar or the main .rar file) and select Extract Here .
- WinRAR should now recognize the sequence and continue extraction normally .
If you still get the same prompt: the archive set is likely incomplete (a part was never downloaded or was removed), or one of the volumes is corrupt and must be re-downloaded from the original source.
