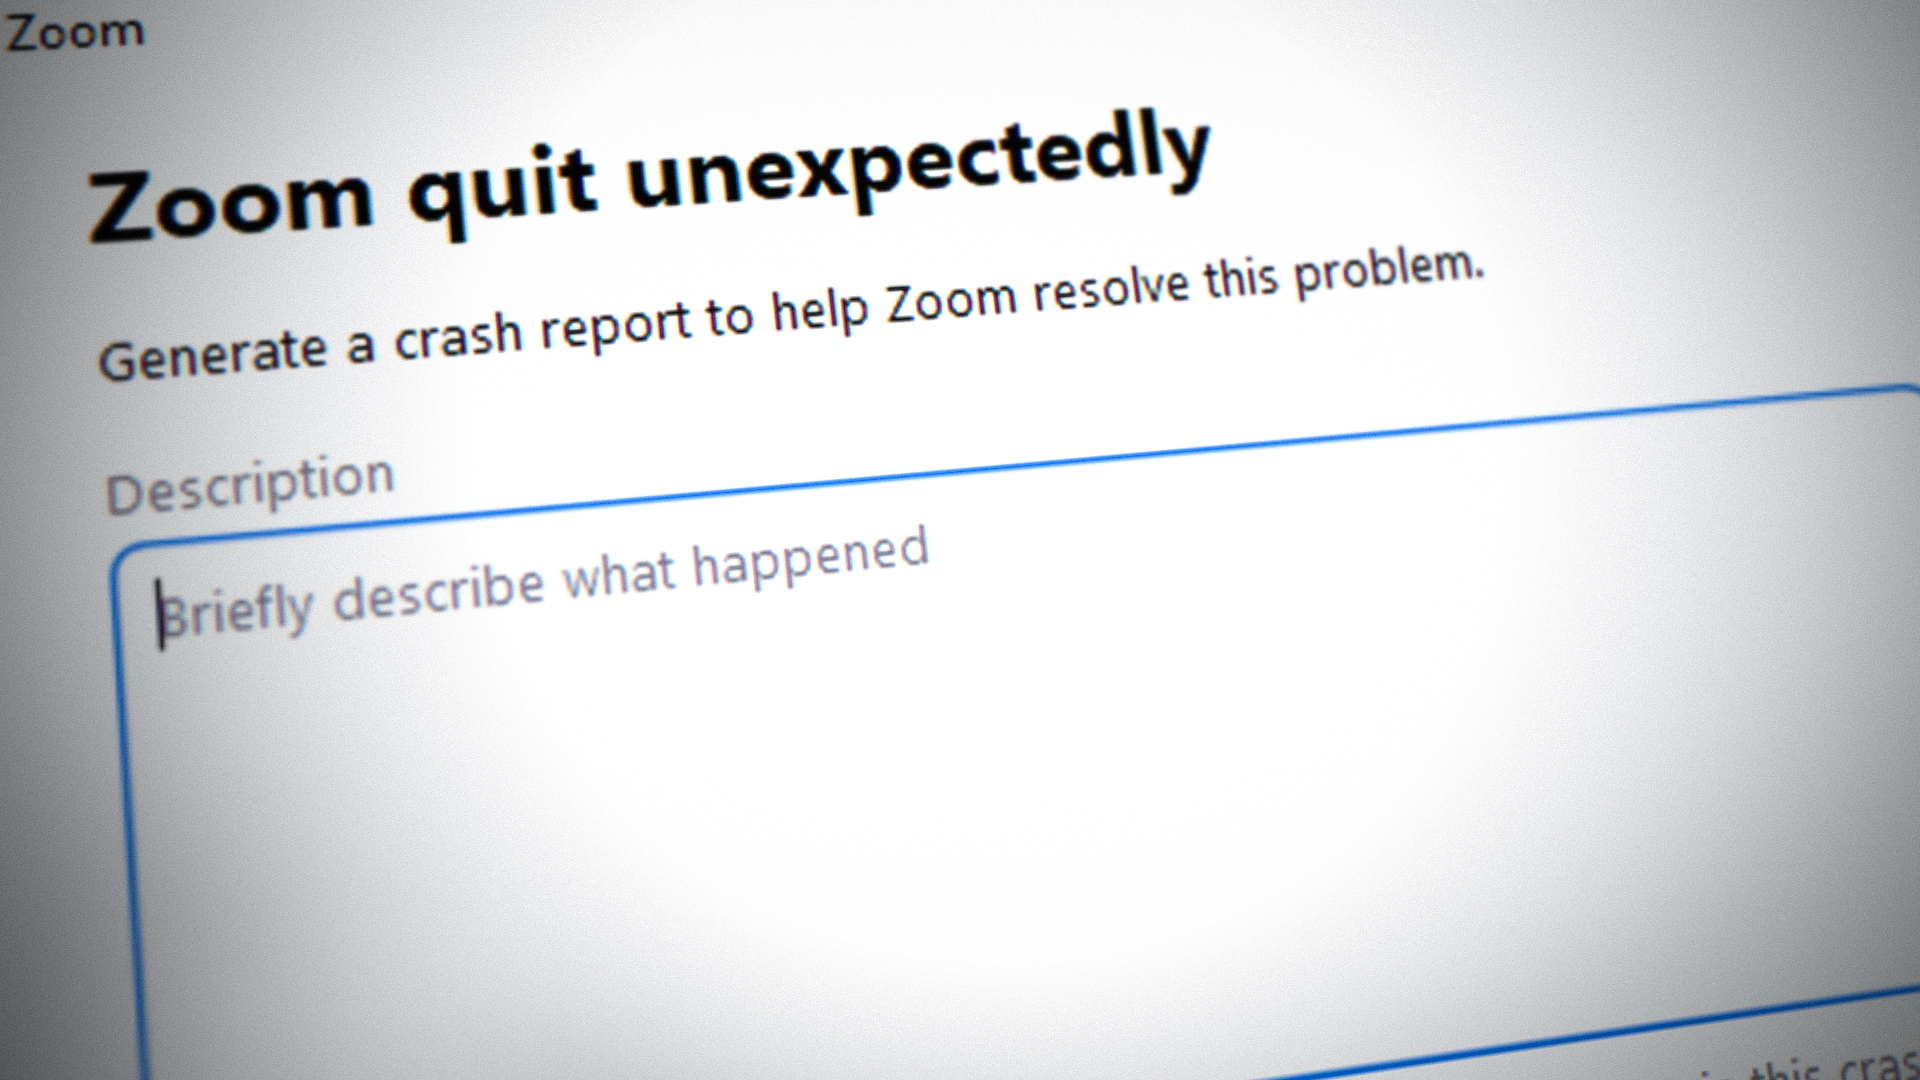
Zoom is one of the top online chat and video telephony services. It has a vast user base and is highly rated for its professional and sleek design. But sometimes its Desktop app starts showing the following error when someone shares a screen with the user:
Zoom Quit Unexpectedly Error Fix
Zoom may quit unexpectedly when someone shares screen mainly due to the following reported factors:
- Outdated Zoom App : If the Zoom app is outdated, it may become incompatible with other OS components like the graphics driver and thus cause the screen sharing issue.
- Conflicting Applications : If a utility/service/ process on your system is hindering the application modules of the Zoom app, then it may crash. For example, the PowerToys’ feature of Mute Video Conference is a reported culprit.
- Wrong Configuration of the Zoom App Settings : If Zoom’s settings are not properly configured as per the system, then you may encounter the issue at hand e.g. if you are a Dell user and your system uses Intel IRIS Integrated Graphics, then due to hardware limitation of the IRIS, you may have to only use Direct3D9 rendering method. Otherwise, Zoom have may show the quit unexpectedly error.
Update the Zoom App to the Latest Build
If the Zoom app is not updated to the latest build, then it may have compatibility issues with other OS modules like display driver, etc. and this incompatibility may lead to the screen sharing issue at hand. Here, updating the Zoom app to the latest build may solve Zoom’s quit unexpectedly issue.
- Launch the Zoom app and in the top right corner, click on your user profile (near the search icon).
- Now, in the Zoom menu, click on Check for Updates , and if an update is available, download and install the update. Check for the Zoom Updates
- Once the Zoom app is updated, restart your system and upon restart, check if the Zoom app is clear of the quit unexpectedly issue.
Perform a Clean Boot and Disable Conflicting Applications
If another application/ utility or service is interfering with the application modules of Zoom, then the Zoom app may quit unexpectedly when someone shares a screen. In this context, performing a clean boot of your PC may solve the problem.
- Perform a clean boot of your PC and launch the Zoom app.
- Now check if the share screen issue is resolved.
If so, try to identify the process/service or application causing the issue by enabling the startup items one by one. Many users reported that the PowerToys caused the issue for them, so, make sure that is not the case with you.
- Launch the PowreToys utility and open its Settings .
- Now, head to the Video Conference Mute tab, and in the right pane, disable Enable Video Conference Mute by toggling its switch to the off position . Disable Video Conference Mute in the Power Toys
- Then restart your system and upon restart, check if the Zoom’s quit unexpectedly issue is resolved.
Edit the Zoom Desktop App Settings
There can be different Zoom settings that may trigger Zoom to quit unexpectedly when the screen is shared. These settings may include the Auto Video Rendering method as systems (mainly the Dell systems) with IRIS graphics have a hardware limitation of only using the Direct3D9 rendering method.
Moreover, improper configuration of hardware acceleration of the Zoom app may also cause the issue at hand. In this scenario, editing the Zoom settings (like disabling the hardware acceleration may solve the problem).
Disable Hardware Acceleration of Zoom
- Launch the Zoom app, click on the user profile icon, and select Settings . Open the Zoom Settings
- Now head to the Video tab and in the right pane, click on the Advanced button. Open Advanced Video Settings of Zoom
- Then uncheck the following (some users may find these in the Share Screen tab): Enable Hardware Acceleration for Video Processing Enable Hardware Acceleration for Sending Video Enable Hardware Acceleration for Receiving Video Disable Hardware Acceleration for Video Processing, Sending Video, and Receiving Video in Zoom
- Then apply your changes and relaunch the Zoom app to check if the quit unexpectedly issue is resolved.
If the problem occurs when a user shares a PowerPoint screen , then check if disabling the slide show hardware graphics acceleration clears out the Zoom app issue.
Set Video Rendering Method of Zoom to Direct3D9
- Open the Zoom app Settings and head to the Video tab.
- Now, in the right pane, click on Advanced and expand the dropdown of the Video Rendering Method .
- Then select Direct3D9 and apply your changes. Set the Zoom’s Video Rendering Method to Direct3D9
- Now relaunch the Zoom app and check if it is working fine.
- If not, restart your system and upon restart, check if the Zoom app is clear of the screen sharing issue.
- If that did not work, check if setting the Video Rendering Method of the Zoom app to Direct3D11 and restarting the system clears out the issue. Set the Video Rendering Method to Direct3D11 in Zoom
Disable Video Rendering Post Processing of Zoom
- Launch the Zoom app and head to its Settings .
- Now open Video and click on the Advanced button (near the bottom of the right pane).
- Then expand the dropdown of Video Rendering Post Processing and select Disable . Disable Video Rendering Post Processing in Zoom
- Now apply your changes and restart your system.
- Upon restart, launch the Zoom app and check if it is clear of the quit unexpectedly problem.
If none of the above solved the Zoom app issue, then you may use the browser version of Zoom (till the issue is resolved).
How to Fix “Printer is in an error state” Issue?
The error “ WinRAR Error: Next Volume Is Required ” usually appears when you’re extracting a multi-part RAR archive and WinRAR can’t find (or can’t correctly identify) the next file in the sequence . This often happens when a volume is missing , stored in a different folder , or renamed in a way that breaks the archive’s expected order .

In this guide, we’ll go over the most reliable fixes confirmed by affected users, along with what each method is doing behind the scenes so you can choose the right one for your situation.
Important: To extract multi-volume archives, you should always start extraction from the first file in the set. This is usually file.part1.rar , or (in older sets) the main .rar file that comes before .r01 , .r02 , and so on.
1. Download and Place the Missing RAR File
WinRAR needs all parts of a multi-volume archive to complete extraction. This error usually appears when one of the volumes in a set like .part2.rar , .r01 , .r02 , .001 , and similar naming formats is missing . Downloading the missing volume and placing it in the same folder as the other parts allows WinRAR to continue extracting normally .
- Look at the error message or review the list of archive parts in the folder.
- Identify which volume is missing (for example, part2.rar , .r02 , .001 , etc.).
- Go back to the website or source where you downloaded the archive.
- Locate and download the exact missing file using the same naming format as the others.
- Make sure the new file name matches the pattern of the rest. Example: If you have file.part1.rar and file.part3.rar , the missing one must be file.part2.rar .
- Move the downloaded missing volume into the same folder as the other archive parts.
- Confirm that all parts are in a single folder before extracting.
- Right-click the first file in the series (usually part1 or the main .rar file) and select Extract Here or Extract to Folder .
- WinRAR should now detect all volumes and continue extraction normally .
2. Manually Browse & Select the Next Volume
Use this method only if the next volume already exists , but WinRAR is failing to detect it automatically. This can happen due to incorrect naming , the file being in a different location , or a temporary file access issue. Manually browsing helps WinRAR locate the correct volume and resume extraction without interruption .
- Right-click the first file in the series (usually .rar or part1.rar ) and select Extract Here or Extract to Folder .
- When WinRAR cannot find the next volume, it will show the “ Next Volume Is Required ” message.
- A small window will appear, allowing you to manually select the next volume .
- Use the file explorer window to locate the folder where the other archive parts are saved.
- Select the next part based on the naming order (example: select file.part2.rar after file.part1.rar ).
- Make sure the selected file matches the naming format of the archive (no extra characters like (1) and no mismatched numbering).
- WinRAR will resume extraction using the selected volume .
- If additional volumes are missing or stored separately, WinRAR may prompt you again. Repeat the same process until extraction completes.
3. Rename the RAR files in Order
WinRAR relies on a proper naming sequence (such as file.part1.rar , file.part2.rar , file.part3.rar ) to extract multi-volume archives. If a file is named incorrectly, contains extra characters, or is out of order, WinRAR may fail to locate the next volume and show this error. Renaming the files correctly helps WinRAR follow the sequence and extract the archive without interruptions .
Note: Renaming only changes the file name , not the file contents. The goal is to restore the correct sequence so WinRAR can detect the next volume.
- Go to the folder where all the RAR files are saved.
- Make sure all parts of the archive are present and stored in the same folder .
- Check how the parts are currently named . Common patterns include:
file.part1.rar, file.part2.rar, file.part3.rar
file.rar, file.r01, file.r02, file.r03
- Look for files that don’t match the expected numbering pattern (for example, file.part01.rar , file.part1(1).rar , or unrelated names).
- Rename each file so it follows the same order without extra characters or mismatched numbering. Example:
Incorrect: file.part1.rar, file.part3.rar, file.part2(1).rar
Correct: file.part1.rar, file.part2.rar, file.part3.rar
- Make sure the text before the number is exactly the same for all files.
- Only the last part number should change.
- Right-click the first file in the series (usually part1.rar or the main .rar file) and select Extract Here .
- WinRAR should now recognize the sequence and continue extraction normally .
If you still get the same prompt: the archive set is likely incomplete (a part was never downloaded or was removed), or one of the volumes is corrupt and must be re-downloaded from the original source.
