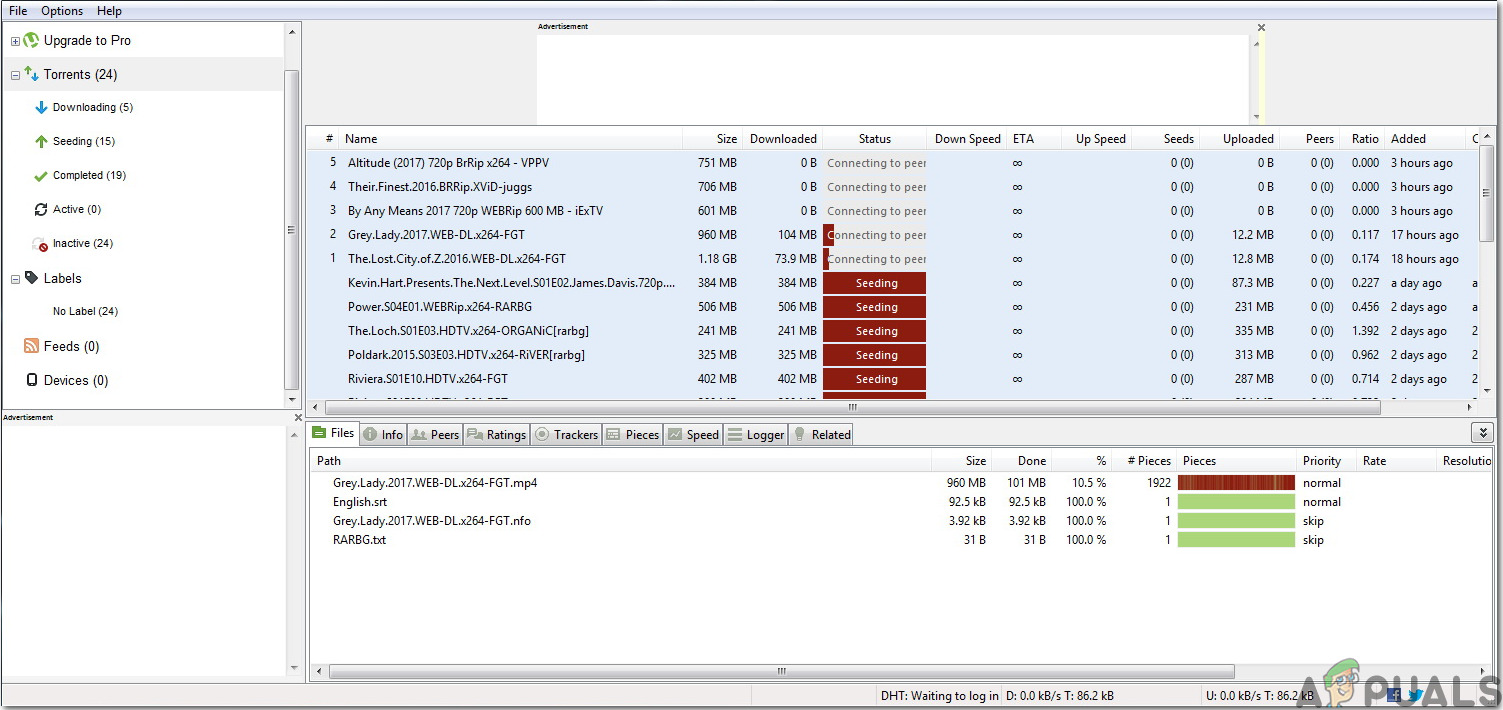
If uTorrent isn’t connecting to peers, it means the client is unable to initiate the download process for the desired file. Before going into the detailed solutions provided below, first confirm the speed of your internet connection by conducting a speed test. A stable internet connection is important for downloading files. If your internet is functioning properly, proceed to the methods listed below to fix the issue.
1. Modify the uTorrent Settings
Changing the Outgoing Encryption setting from Disabled to Forced enhances uTorrent’s ability to establish secure connections to peers. This is because some Internet Service Providers (ISPs) or networks may block unencrypted BitTorrent traffic, and forcing encryption helps to bypass these restrictions.
As a result, this change can potentially improve connection success rates and initiate the download process.
- Click on the Options button at the top left corner of the screen. From the drop-down menu, select Preferences . Preferences
- Choose ‘BitTorrent,’ and in the Protocol Encryption section, change the ‘Outgoing’ option from Disabled to Forced .
- Recheck the downloading files to see if the issue with connecting to peers has been resolved. If the connection is still not established, move on to the next method.
2. Monitor Your Firewall
The Firewall might be blocking uTorrent. Make sure that neither Windows Firewall nor any third-party antivirus software is blocking uTorrent. If you have installed third-party antivirus software, you may need to configure the settings manually to allow uTorrent to bypass the Windows Firewall.
- In the search bar, type in Firewall and Network Protection . Firewall and network protection
- Click on Allow an app through firewall , then select the Change settings button. Allowing an app through the firewall – Firewall Settings
- Locate uTorrent in the list and check both the Public and Private boxes. If uTorrent isn’t listed, add it manually by selecting the Add another app option. Allow another app
Check if the issue is resolved by opening uTorrent and attempting to download a file. If the issue persists, proceed to the next method.
3. Enable Port Forwarding
Port forwarding helps direct the traffic from BitTorrent ports to your PC and vice versa, providing a stable uTorrent connection.
- If your network supports UPnP (Universal Plug and Play) or NAT PMP (Network Address Translation Port Mapping Protocol), uTorrent can automatically bypass firewall restrictions and connect your PC to peers. Click on Preferences , then Connection , then Options in the top left corner.
- Select the three options as shown below to directly connect to seeders and click OK . Enable Port Forwarding
4. Run Network Configuration Tests on uTorrent
Running Network Configuration Tests on uTorrent can resolve connection issues by optimizing the client’s settings for your specific network environment. The tests automatically detect and adjust the bandwidth and network settings to improve peer connections and provide smoother and more reliable downloads.
This process makes sure that uTorrent’s configuration aligns well with your internet capabilities and firewall settings, potentially eliminating barriers that may interfere connections to other peers.
- Click on Options in the top left corner and select Setup Guide . Check both the Network and Bandwidth boxes in the uTorrent Setup Guide window that opens. Check both boxes
- Click Run Tests . Once completed, results will display under the Bandwidth and Network sections. Any necessary changes will be saved when you click on Save & Close . Save and close
These tests will help uTorrent automatically configure your Internet settings, resolving any issues that are blocking torrent downloads.
5. Try a VPN
Consider using a Virtual Private Network (VPN) to avoid any restrictions that may prevent you from sharing and downloading files. Be cautious when selecting a VPN provider, as some VPNs may block BitTorrent connections. We highly recommend Nord VPN for its proven compatibility and security, ensuring trouble-free file sharing and downloading.
Workaround: If the issue still remains, try downloading a different torrent of the same game, software, or movie. Choose torrents with a high number of seeders, indicating active sharing, which usually means faster download speeds. Search for alternate versions with more seeds/peers.
How to Fix “Printer is in an error state” Issue?
The error “ WinRAR Error: Next Volume Is Required ” usually appears when you’re extracting a multi-part RAR archive and WinRAR can’t find (or can’t correctly identify) the next file in the sequence . This often happens when a volume is missing , stored in a different folder , or renamed in a way that breaks the archive’s expected order .

In this guide, we’ll go over the most reliable fixes confirmed by affected users, along with what each method is doing behind the scenes so you can choose the right one for your situation.
Important: To extract multi-volume archives, you should always start extraction from the first file in the set. This is usually file.part1.rar , or (in older sets) the main .rar file that comes before .r01 , .r02 , and so on.
1. Download and Place the Missing RAR File
WinRAR needs all parts of a multi-volume archive to complete extraction. This error usually appears when one of the volumes in a set like .part2.rar , .r01 , .r02 , .001 , and similar naming formats is missing . Downloading the missing volume and placing it in the same folder as the other parts allows WinRAR to continue extracting normally .
- Look at the error message or review the list of archive parts in the folder.
- Identify which volume is missing (for example, part2.rar , .r02 , .001 , etc.).
- Go back to the website or source where you downloaded the archive.
- Locate and download the exact missing file using the same naming format as the others.
- Make sure the new file name matches the pattern of the rest. Example: If you have file.part1.rar and file.part3.rar , the missing one must be file.part2.rar .
- Move the downloaded missing volume into the same folder as the other archive parts.
- Confirm that all parts are in a single folder before extracting.
- Right-click the first file in the series (usually part1 or the main .rar file) and select Extract Here or Extract to Folder .
- WinRAR should now detect all volumes and continue extraction normally .
2. Manually Browse & Select the Next Volume
Use this method only if the next volume already exists , but WinRAR is failing to detect it automatically. This can happen due to incorrect naming , the file being in a different location , or a temporary file access issue. Manually browsing helps WinRAR locate the correct volume and resume extraction without interruption .
- Right-click the first file in the series (usually .rar or part1.rar ) and select Extract Here or Extract to Folder .
- When WinRAR cannot find the next volume, it will show the “ Next Volume Is Required ” message.
- A small window will appear, allowing you to manually select the next volume .
- Use the file explorer window to locate the folder where the other archive parts are saved.
- Select the next part based on the naming order (example: select file.part2.rar after file.part1.rar ).
- Make sure the selected file matches the naming format of the archive (no extra characters like (1) and no mismatched numbering).
- WinRAR will resume extraction using the selected volume .
- If additional volumes are missing or stored separately, WinRAR may prompt you again. Repeat the same process until extraction completes.
3. Rename the RAR files in Order
WinRAR relies on a proper naming sequence (such as file.part1.rar , file.part2.rar , file.part3.rar ) to extract multi-volume archives. If a file is named incorrectly, contains extra characters, or is out of order, WinRAR may fail to locate the next volume and show this error. Renaming the files correctly helps WinRAR follow the sequence and extract the archive without interruptions .
Note: Renaming only changes the file name , not the file contents. The goal is to restore the correct sequence so WinRAR can detect the next volume.
- Go to the folder where all the RAR files are saved.
- Make sure all parts of the archive are present and stored in the same folder .
- Check how the parts are currently named . Common patterns include:
file.part1.rar, file.part2.rar, file.part3.rar
file.rar, file.r01, file.r02, file.r03
- Look for files that don’t match the expected numbering pattern (for example, file.part01.rar , file.part1(1).rar , or unrelated names).
- Rename each file so it follows the same order without extra characters or mismatched numbering. Example:
Incorrect: file.part1.rar, file.part3.rar, file.part2(1).rar
Correct: file.part1.rar, file.part2.rar, file.part3.rar
- Make sure the text before the number is exactly the same for all files.
- Only the last part number should change.
- Right-click the first file in the series (usually part1.rar or the main .rar file) and select Extract Here .
- WinRAR should now recognize the sequence and continue extraction normally .
If you still get the same prompt: the archive set is likely incomplete (a part was never downloaded or was removed), or one of the volumes is corrupt and must be re-downloaded from the original source.
