When you see the error “ AnyConnect was not able to establish a connection to the specified secure gateway ” it means the VPN connection failed during or right after login. This error shows that the client couldn’t connect to the secure gateway, which serves as the VPN’s entry point.
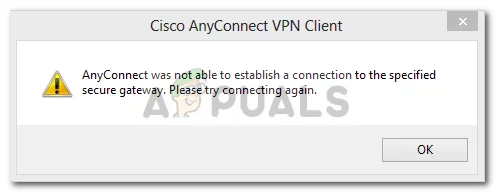
AnyConnect was not able to establish a connection to the specified secure gateway
The main reasons are often an incorrect or untrusted SSL certificate, firewall restrictions, or issues with network address translation (NAT). Other reasons might include unstable network conditions, recent OS updates affecting VPN drivers, or license limits on the VPN server.
In this article, we will discuss different ways to solve this error.
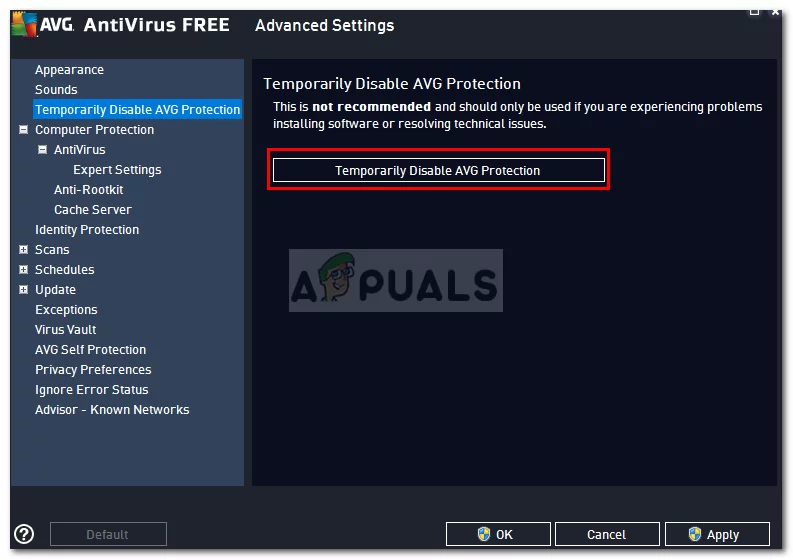
1. Disable Antivirus
Antivirus software can block or mess up the connection to a VPN by wrongly seeing VPN traffic as a threat. Turning off the antivirus temporarily removes this possible barrier, letting AnyConnect connect securely without issues. This helps find out if the antivirus is causing connection problems due to strict security settings. Make sure to turn it back on after testing to keep your device protected.
Disable Antivirus
2. Stop Internet Connection Service
To troubleshoot VPN issues, you can try stopping the Internet Connection Sharing (ICS) service, as it may interfere with network routing, including VPN tunnels. Disabling ICS prevents possible conflicts between your local network and the VPN client, enabling AnyConnect to connect more directly and stably to the secure gateway. This step helps remove conflicting network services that might block or redirect VPN traffic.
- Press Windows + R and type services.msc , then press Enter .
- When the window showing the services opens, search for Internet Connection Sharing service. Right-click on it and select Stop . Stopping ICS Service
- Close the Services window.
3. Disable Internet Connection Sharing (ICS)
Disabling Internet Connection Sharing (ICS) can effectively resolve VPN connection issues. ICS can interfere with the VPN tunnel by sharing internet with other devices. Turning it off removes conflicts, allowing the VPN to connect directly to the secure gateway without interruptions.
- Open the Control Panel.
- Navigate to Network and Internet Sharing and click Change adapter settings . Network and Sharing Center
- Right-click the shared network connection and select Properties .
- Go to the Sharing tab.
- Uncheck “ Allow other network users to connect through this computer’s Internet connection ”.
- Click OK .
4. Select the option Connect to current Network in AnyConnect VPN
Choosing “Connect to current Network” in AnyConnect VPN instructs the client to use your active network connection, reducing errors from attempting to connect through other, disconnected networks. This setting ensures the VPN utilizes the correct network, especially after switching networks or adjusting settings. It improves connection stability by eliminating network confusion and increasing the chances of a successful connection.
- Launch the AnyConnect Client and right-click on Network .
- Select Connect only to current Network . Cisco AnyConnect Client
5. Try an Alternate Connection
Switching to a different network, like a mobile hotspot or another Wi-Fi, can fix issues by avoiding blocks or restrictions on your main connection. Some networks have strict rules that stop VPN traffic. Using another network can help the VPN connect successfully, especially if the problem is with a specific network or router setup.
How to Fix “Printer is in an error state” Issue?
The error “ WinRAR Error: Next Volume Is Required ” usually appears when you’re extracting a multi-part RAR archive and WinRAR can’t find (or can’t correctly identify) the next file in the sequence . This often happens when a volume is missing , stored in a different folder , or renamed in a way that breaks the archive’s expected order .

In this guide, we’ll go over the most reliable fixes confirmed by affected users, along with what each method is doing behind the scenes so you can choose the right one for your situation.
Important: To extract multi-volume archives, you should always start extraction from the first file in the set. This is usually file.part1.rar , or (in older sets) the main .rar file that comes before .r01 , .r02 , and so on.
1. Download and Place the Missing RAR File
WinRAR needs all parts of a multi-volume archive to complete extraction. This error usually appears when one of the volumes in a set like .part2.rar , .r01 , .r02 , .001 , and similar naming formats is missing . Downloading the missing volume and placing it in the same folder as the other parts allows WinRAR to continue extracting normally .
- Look at the error message or review the list of archive parts in the folder.
- Identify which volume is missing (for example, part2.rar , .r02 , .001 , etc.).
- Go back to the website or source where you downloaded the archive.
- Locate and download the exact missing file using the same naming format as the others.
- Make sure the new file name matches the pattern of the rest. Example: If you have file.part1.rar and file.part3.rar , the missing one must be file.part2.rar .
- Move the downloaded missing volume into the same folder as the other archive parts.
- Confirm that all parts are in a single folder before extracting.
- Right-click the first file in the series (usually part1 or the main .rar file) and select Extract Here or Extract to Folder .
- WinRAR should now detect all volumes and continue extraction normally .
2. Manually Browse & Select the Next Volume
Use this method only if the next volume already exists , but WinRAR is failing to detect it automatically. This can happen due to incorrect naming , the file being in a different location , or a temporary file access issue. Manually browsing helps WinRAR locate the correct volume and resume extraction without interruption .
- Right-click the first file in the series (usually .rar or part1.rar ) and select Extract Here or Extract to Folder .
- When WinRAR cannot find the next volume, it will show the “ Next Volume Is Required ” message.
- A small window will appear, allowing you to manually select the next volume .
- Use the file explorer window to locate the folder where the other archive parts are saved.
- Select the next part based on the naming order (example: select file.part2.rar after file.part1.rar ).
- Make sure the selected file matches the naming format of the archive (no extra characters like (1) and no mismatched numbering).
- WinRAR will resume extraction using the selected volume .
- If additional volumes are missing or stored separately, WinRAR may prompt you again. Repeat the same process until extraction completes.
3. Rename the RAR files in Order
WinRAR relies on a proper naming sequence (such as file.part1.rar , file.part2.rar , file.part3.rar ) to extract multi-volume archives. If a file is named incorrectly, contains extra characters, or is out of order, WinRAR may fail to locate the next volume and show this error. Renaming the files correctly helps WinRAR follow the sequence and extract the archive without interruptions .
Note: Renaming only changes the file name , not the file contents. The goal is to restore the correct sequence so WinRAR can detect the next volume.
- Go to the folder where all the RAR files are saved.
- Make sure all parts of the archive are present and stored in the same folder .
- Check how the parts are currently named . Common patterns include:
file.part1.rar, file.part2.rar, file.part3.rar
file.rar, file.r01, file.r02, file.r03
- Look for files that don’t match the expected numbering pattern (for example, file.part01.rar , file.part1(1).rar , or unrelated names).
- Rename each file so it follows the same order without extra characters or mismatched numbering. Example:
Incorrect: file.part1.rar, file.part3.rar, file.part2(1).rar
Correct: file.part1.rar, file.part2.rar, file.part3.rar
- Make sure the text before the number is exactly the same for all files.
- Only the last part number should change.
- Right-click the first file in the series (usually part1.rar or the main .rar file) and select Extract Here .
- WinRAR should now recognize the sequence and continue extraction normally .
If you still get the same prompt: the archive set is likely incomplete (a part was never downloaded or was removed), or one of the volumes is corrupt and must be re-downloaded from the original source.
