Some Google Hangout users are encountering an issue when attempting to share their screen with an audience. Whenever this occurs, the audience can only see a black screen and the cursor moving (but they can’t see anything from the host actual screen).
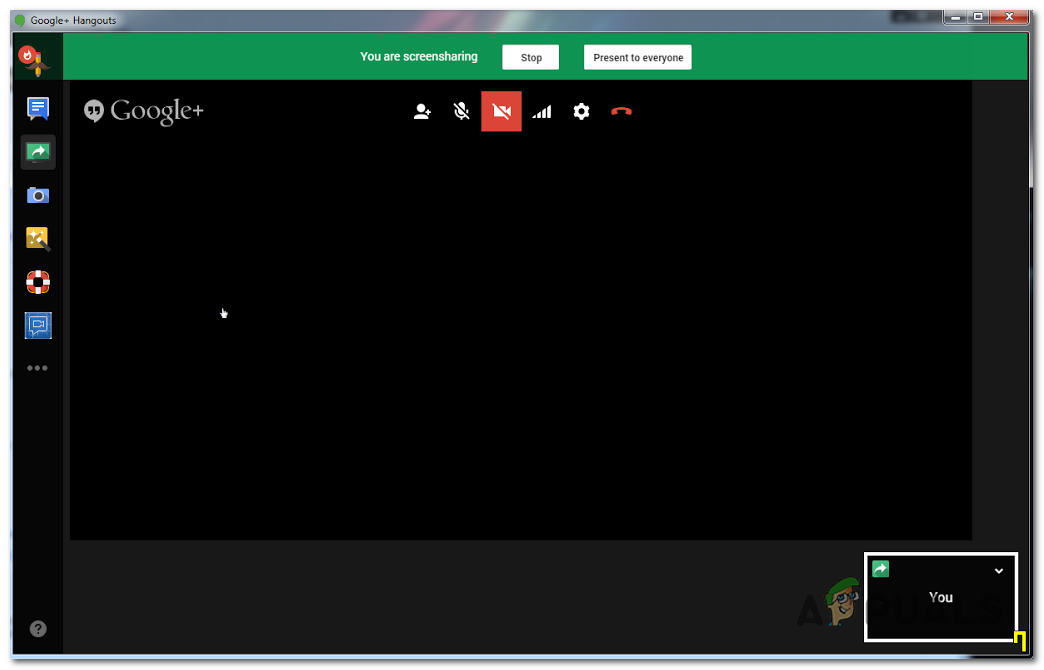
Google Hangouts Black Screen when Screen Sharing
What to do to Fix Black Screen on Hangouts when Sharing Screens?
Google pushed several different updates aimed at improving the functionality of Hangouts with Google Chrome. If your browser is not updated with the latest patches, you should update it and see if the issue is resolved automatically.
Another potential scenario that might cause this issue is bad locally cached data that Chrome ends up storing for Hangouts. In this case, the issue can be resolved by leaning Google Chrome’s cache and cookies from the GUI menu or by deleting the data manually via File Explorer.
However, in some cases, the issue can also be caused by a corrupted Google Hangouts Extension. In this case, you should be able to get the issue resolved by reinstalling the extension and restarting your browser.
Note: Here’s how to completely disable Google Hangouts .
Method 1: Updating Chrome to the latest version
For some affected users, this issue seems to only occur with outdated Chrome versions. Unless you’re purposely trying to maintain an older Google Chrome build, your first stop when attempting to fix this issue would be to ensure that you’re using the latest version of Google Chrome.
Over these past months, Google has released several updates whose Changelogs included improvements and bug fixes for their Hangouts app.
Here’s a quick guide on updating your Google Chrome version to the latest version:
- Open Google Chrome and click on the action button (three-dot icon) in the top-right corner. After you arrive at the correct location, go to Help > About Google Chrome . Click on Apply Google Chrome
- After you manage to get to the next window, Google Chrome’s updating function should automatically scan to see if a new version is available. Update Google Chrome
- In case a new version is available, it will be automatically installed and you will be prompted to restart your browser once the operation is complete.
- Upon restarting your browser, repeat the action that was previously causing the Google Hangouts ScreenShare Black Screen issue to see if it’s now fixed.
In case you’re still encountering the same problems, move down to the next potential fix below.
Method 2: Cleaning Chrome Cache and cookies
As it turns out, the Google Hangouts Screen is often caused by a bad temporary file that ends up being caused by your browser. IN most cases, a cookie or a web cache is identified as responsible for creating this Black Screen issue. To fix it, all you need to do is to delete the current Cache and cookies that your browser is currently storing.
Here is a quick guide on clearing the cache and cookies from your Chrome browser in order to fix the Google Hangouts black screen issue:
- First things first, open up your Google Chrome browser and click on the action button (three-dot icon) in the top right section of the screen.
- Once you manage to get inside the Settings menu, scroll down all the way to the bottom, then click on the Advanced drop-down menu to force the hidden items to show.
- After every Advanced Settings menu is visible, scroll down to the Privacy and Security tab.
- Once you see the Privacy and Security tab, click on the sub-item called Clear browsing data .
- Inside the Clear browsing data menu, click on the Basic tab, then ensure that the boxes associated with Cookies and other site data and Cached images and files are enabled.
- Next, set the Time range to All time , then click on the Clear data button to start the process of deleting your Chrome’s cookies and cache.
- Wait until the operation is complete, then force a computer restart.
- Once the next startup is complete, see if the issue is resolved by doing another screencast with Google Hangouts.
In case you already this and the issue is still ongoing, move down to the next potential fix below for other fixes that might help you fix the issue.
Method 3: Deleting temporary files in Temp
As it turns out, in some situations, simply clearing your Google Chrome browser cookies will not be enough. This happens due to the fact that Chrome has a tendency of storing a few temp files in %TEMP%..\Google\Chrome\User Data\Default\Local Storage . If this happens, clearing the cookies and cache will not be enough to resolve the issue.
If this scenario is applicable, you should be able to fix the Google Hangouts Black Screen issue by deleting the entire Local Storage folder belonging to Google Chrome and restarting your computer.
Here’s a quick guide on deleting the locally stored temporary files belonging to Google Chrome:
- Ensure that Google Hangouts and every instance of Google Chrome (including background processes) are closed.
- Open File Explorer and paste the following location inside the navigation bar at the top and press Enter to land directly into the folder that might be causing the problem: %TEMP%..\Google\Chrome\User Data\Default\Local Storage Navigating to the local Temp folder of Google Chrome
- Once you arrive inside the folder that might be holding the temporary files that ends up causing the issue with Google Hangouts, press Ctrl + A to select everything inside, then right-click on a selected item and click on Delete from the context menu to get rid of every temporary folder that might cause the inconsistency.
- Once every Chrome-related temp file is cleared, restart your computer and wait for the next startup to complete.
- At the next startup, see if the issue is resolved by attempting to do another screencast with Google Hangouts.
Note: Here’s what to do in case your Windows 10 computer doesn’t allow you to delete temp file.
In case the same issue is still persisting, move down to the next potential fix below.
Method 4: Reinstalling the Google Hangouts Extension
If you’re encountering this problem solely on Google Chrome (Hangouts app works fine on different browsers), chances are the extension powering Google Hangouts contains badly cached data that ends up causing the black screen issues when the user screen shares.
In case this scenario is applicable, you should be able to fix this issue by reinstalling the Google Hangouts extension for Chrome and restarting the browser.
Here is the step by step instructions on doing this on Google Chrome:
- Open Google Chrome and click on the action button in the top-right corner. From the context menu, click on More Tools > Extensions . Opening the Extensions menu via the Action button Note: You can also paste ‘ chrome://extensions/ ‘ directly into the navigation bar and press Enter to get there instantly. Note 2: Here’s what do do in case you see the Network_Failed error while attempting to download the extension .
- Once you’re inside the Extensions tab, scroll down through the list of installed extensions and locate the entry associated with Google Hangouts .
- When you manage to Google Hangouts extension, click on the Remove button associated with it and confirm at the next prompt. Deleting the Google Hangouts extension
- After the extension is uninstalled, visit this link ( here ) and click on the Add to Chrome button in the top-right corner of the screen. Reinstalling the Google Hangouts extension
- At the confirmation prompt, click on Add extension and wait for the operation to complete. Adding the Google Hangouts extension
- Once the extension is reinstalled, initiate another screen Share with Google Hangouts and see if the issue is now resolved.
In case the same issue is still occurring, move down to the next potential fix below.
Method 5: Using a different browser
If none of the methods above have allowed you to fix the issue and you don’t want to update your Chrome version (for various resources), you’re only chance of using Google Hangouts normally is to use a different browser.
Keep in mind that although Hangouts and Chrome are developed by the same parent company, Hangouts will work on any browser (not just Chrome).
Several affected users that were also encountering this issue have confirmed that they managed to fix this issue by using any of the other browsers below:
- Firefox
- Opera
- Brave
How to Fix “Printer is in an error state” Issue?
The error “ WinRAR Error: Next Volume Is Required ” usually appears when you’re extracting a multi-part RAR archive and WinRAR can’t find (or can’t correctly identify) the next file in the sequence . This often happens when a volume is missing , stored in a different folder , or renamed in a way that breaks the archive’s expected order .

In this guide, we’ll go over the most reliable fixes confirmed by affected users, along with what each method is doing behind the scenes so you can choose the right one for your situation.
Important: To extract multi-volume archives, you should always start extraction from the first file in the set. This is usually file.part1.rar , or (in older sets) the main .rar file that comes before .r01 , .r02 , and so on.
1. Download and Place the Missing RAR File
WinRAR needs all parts of a multi-volume archive to complete extraction. This error usually appears when one of the volumes in a set like .part2.rar , .r01 , .r02 , .001 , and similar naming formats is missing . Downloading the missing volume and placing it in the same folder as the other parts allows WinRAR to continue extracting normally .
- Look at the error message or review the list of archive parts in the folder.
- Identify which volume is missing (for example, part2.rar , .r02 , .001 , etc.).
- Go back to the website or source where you downloaded the archive.
- Locate and download the exact missing file using the same naming format as the others.
- Make sure the new file name matches the pattern of the rest. Example: If you have file.part1.rar and file.part3.rar , the missing one must be file.part2.rar .
- Move the downloaded missing volume into the same folder as the other archive parts.
- Confirm that all parts are in a single folder before extracting.
- Right-click the first file in the series (usually part1 or the main .rar file) and select Extract Here or Extract to Folder .
- WinRAR should now detect all volumes and continue extraction normally .
2. Manually Browse & Select the Next Volume
Use this method only if the next volume already exists , but WinRAR is failing to detect it automatically. This can happen due to incorrect naming , the file being in a different location , or a temporary file access issue. Manually browsing helps WinRAR locate the correct volume and resume extraction without interruption .
- Right-click the first file in the series (usually .rar or part1.rar ) and select Extract Here or Extract to Folder .
- When WinRAR cannot find the next volume, it will show the “ Next Volume Is Required ” message.
- A small window will appear, allowing you to manually select the next volume .
- Use the file explorer window to locate the folder where the other archive parts are saved.
- Select the next part based on the naming order (example: select file.part2.rar after file.part1.rar ).
- Make sure the selected file matches the naming format of the archive (no extra characters like (1) and no mismatched numbering).
- WinRAR will resume extraction using the selected volume .
- If additional volumes are missing or stored separately, WinRAR may prompt you again. Repeat the same process until extraction completes.
3. Rename the RAR files in Order
WinRAR relies on a proper naming sequence (such as file.part1.rar , file.part2.rar , file.part3.rar ) to extract multi-volume archives. If a file is named incorrectly, contains extra characters, or is out of order, WinRAR may fail to locate the next volume and show this error. Renaming the files correctly helps WinRAR follow the sequence and extract the archive without interruptions .
Note: Renaming only changes the file name , not the file contents. The goal is to restore the correct sequence so WinRAR can detect the next volume.
- Go to the folder where all the RAR files are saved.
- Make sure all parts of the archive are present and stored in the same folder .
- Check how the parts are currently named . Common patterns include:
file.part1.rar, file.part2.rar, file.part3.rar
file.rar, file.r01, file.r02, file.r03
- Look for files that don’t match the expected numbering pattern (for example, file.part01.rar , file.part1(1).rar , or unrelated names).
- Rename each file so it follows the same order without extra characters or mismatched numbering. Example:
Incorrect: file.part1.rar, file.part3.rar, file.part2(1).rar
Correct: file.part1.rar, file.part2.rar, file.part3.rar
- Make sure the text before the number is exactly the same for all files.
- Only the last part number should change.
- Right-click the first file in the series (usually part1.rar or the main .rar file) and select Extract Here .
- WinRAR should now recognize the sequence and continue extraction normally .
If you still get the same prompt: the archive set is likely incomplete (a part was never downloaded or was removed), or one of the volumes is corrupt and must be re-downloaded from the original source.
