The “Too many requests in 1 hour” error message appears when you query ChatGPT excessively within a short duration. Generally, this can be erroneously triggered when extensions interfere with the OpenAI platforms.

Too Many Requests in 1 Hour Error Message in ChatGPT
If you encounter the error message after asking numerous questions to ChatGPT, it’s expected. However, if it occurs after only one question, that’s a real issue. Refer to the methods in this article to resolve the problem.
1. Check ChatGPT Status
First, check ChatGPT’s server status for anomalies. An error message can occur if OpenAI faces a server outage, impacting ChatGPT’s performance and functionality. In such cases, await restoration of services by the OpenAI development team.
You can check the server status of ChatGPT on the official OpenAI status page , which monitors all OpenAI services. If there’s a server outage with ChatGPT, this page will track the issue.
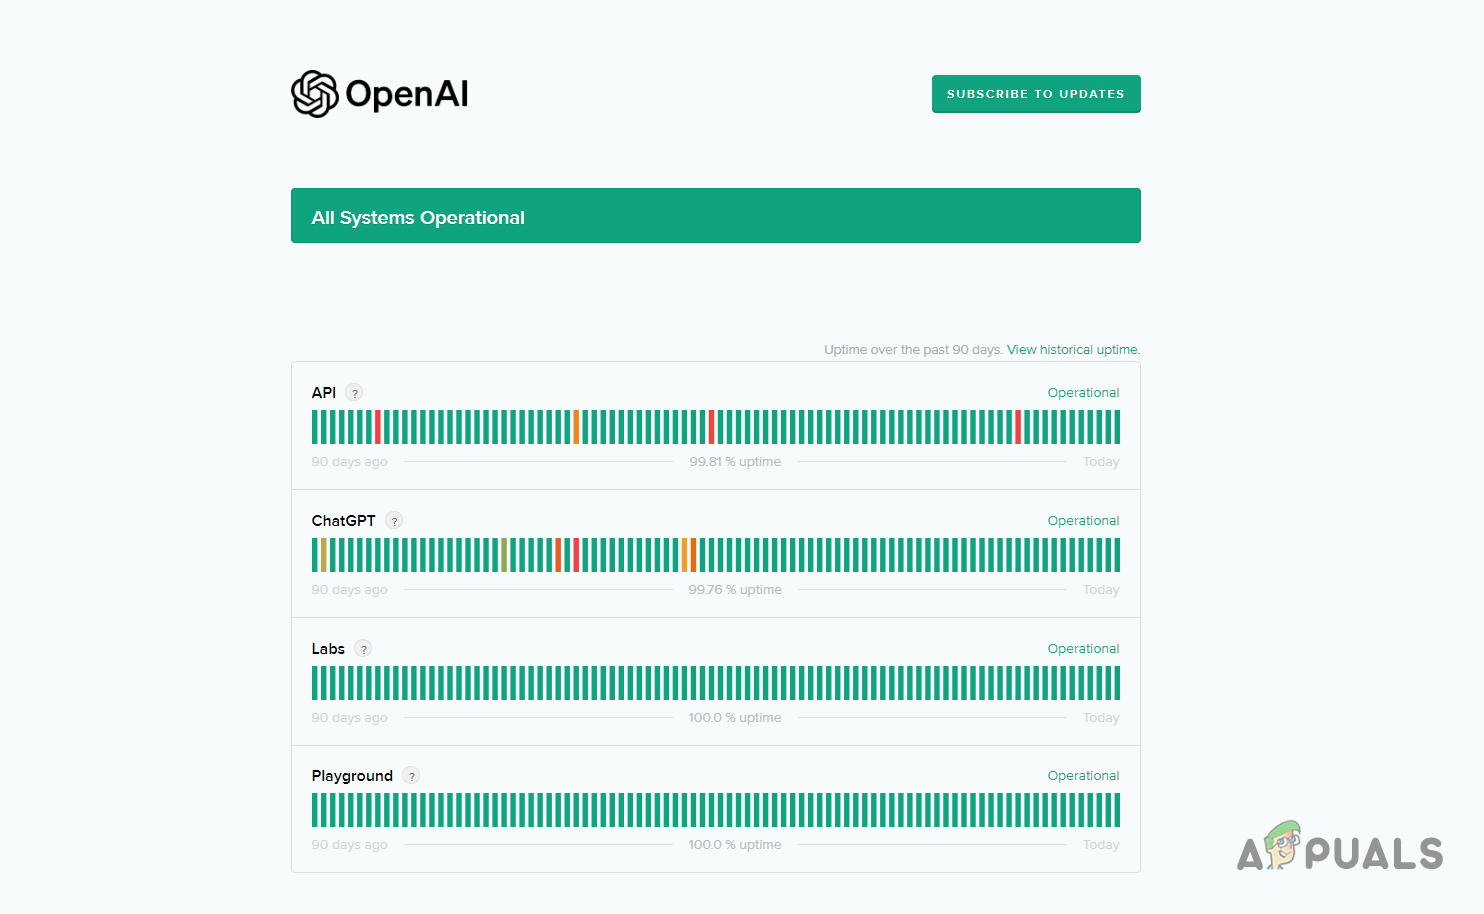
OpenAI System Status
If the server status is operational and you’re still encountering the error message, proceed to the next method.
2. Disable Browser Extensions
The error message may be caused by your browser extensions, such as adblockers or security-related add-ons, interfering with the ChatGPT platform.
These add-ons extensively interfere with the website’s functionality, potentially causing various problems. Therefore, to eliminate the error message, you need to disable these extensions.
Use your browser’s incognito or private mode to determine if the problem with ChatGPT persists. This mode blocks browser add-ons, allowing you to test the functionality without interference.
If the problem goes away, remove the add-ons from your browser to resolve the issue. You can also remove them one by one to locate the offending add-on.
3. Clear Site Data
ChatGPT stores site data in your browser to enable certain functions. This data includes details for managing the platform’s functionality.
To fix the error message, clear your browser’s site data, forcing ChatGPT to request new server data. Follow the instructions below to do this.
- First, open the ChatGPT website .
- Then, right-click anywhere in the chat and select Inspect from the menu. Opening Inspect Element
- After that, switch to the Applications tab in the inspect menu. Navigating to the Application tab
- In the Applications tab, switch to the Storage option. Navigating to Storage
- Then, tick the Including third-party cookies checkbox.
- Finally, click the Clear site data button. Clearing ChatGPT Site Data
- Once you do that, login again to ChatGPT and see if the error message is still there.
4. Toggle VPN Connection
In some cases, the error message can arise due to your IP address. When this happens, you can toggle a VPN connection to get past the problem. This can depend on your existing connection.
If you’re using a VPN to access the ChatGPT platform, disable it and then log in. Check if this resolves the issue.
However, If you’re not using a VPN, we recommend establishing a VPN connection to bypass the IP block. Various services like ExpressVPN and NordVPN are available online.
Ensure to disable Threat Protection in the NordVPN settings menu, as it’s commonly linked to the error message in ChatGPT.
5. Clear Cookies and Cache
The too many requests issue in ChatGPT may be related to your browser cache and cookies, particularly if the cache is corrupted. To resolve this, clear your browser cache.
This is entirely safe and doesn’t negatively impact your browser. Below are instructions tailored for three popular browsers.
5.1. Microsoft Edge
- Open the Settings page with the help of the More menu in the top right. Navigating to Edge Settings
- Then, go to the Privacy, search, and services tab to the left.
- There, click on the Choose what to clear option. Opening Browser Cache Menu in Microsoft Edge
- After that, tick all of the checkboxes and select All Time from the Time Range .
- Finally, click the Clear now option. Clearing Cache from Edge
5.2. Mozilla Firefox
- Click on the hamburger icon in the top right and select Settings . Navigating to Firefox Settings
- Then, jump to the Privacy and security tab on the left.
- In the Privacy and security settings, click on the Clear data option. Opening Browser Cache Menu in Firefox
- Now, select both the options and click Clear . Clearing Cache from Firefox
5.3. Google Chrome
- Use the More menu in the top right and select Clear browsing data . Opening Browser Cache Menu in Chrome
- Then, use the Time Range menu to select All Time and tick all of the options.
- Finally, click the Clear data option. Clearing Cache from Chrome
6. Upgrade to ChatGPT Plus
Another way to access the rate limit in ChatGPT is by upgrading to the Plus plan, which offers numerous additional features and enhanced access to the improved ChatGPT model .
Additionally, ChatGPT’s response time for Plus users is significantly improved, with access to beta features. The Plus plan has no usage limit, eliminating any ‘Too many requests’ error messages. The cost of ChatGPT’s Plus plan is 20 USD per month.
That is it. You should be able to resolve the “Too many requests in 1 hour” error message with the methods in this article. If you are encountering the issue despite the methods outlined above, you can reach out to the support team for ChatGPT and have a chat with them.
How to Fix “Printer is in an error state” Issue?
The error “ WinRAR Error: Next Volume Is Required ” usually appears when you’re extracting a multi-part RAR archive and WinRAR can’t find (or can’t correctly identify) the next file in the sequence . This often happens when a volume is missing , stored in a different folder , or renamed in a way that breaks the archive’s expected order .

In this guide, we’ll go over the most reliable fixes confirmed by affected users, along with what each method is doing behind the scenes so you can choose the right one for your situation.
Important: To extract multi-volume archives, you should always start extraction from the first file in the set. This is usually file.part1.rar , or (in older sets) the main .rar file that comes before .r01 , .r02 , and so on.
1. Download and Place the Missing RAR File
WinRAR needs all parts of a multi-volume archive to complete extraction. This error usually appears when one of the volumes in a set like .part2.rar , .r01 , .r02 , .001 , and similar naming formats is missing . Downloading the missing volume and placing it in the same folder as the other parts allows WinRAR to continue extracting normally .
- Look at the error message or review the list of archive parts in the folder.
- Identify which volume is missing (for example, part2.rar , .r02 , .001 , etc.).
- Go back to the website or source where you downloaded the archive.
- Locate and download the exact missing file using the same naming format as the others.
- Make sure the new file name matches the pattern of the rest. Example: If you have file.part1.rar and file.part3.rar , the missing one must be file.part2.rar .
- Move the downloaded missing volume into the same folder as the other archive parts.
- Confirm that all parts are in a single folder before extracting.
- Right-click the first file in the series (usually part1 or the main .rar file) and select Extract Here or Extract to Folder .
- WinRAR should now detect all volumes and continue extraction normally .
2. Manually Browse & Select the Next Volume
Use this method only if the next volume already exists , but WinRAR is failing to detect it automatically. This can happen due to incorrect naming , the file being in a different location , or a temporary file access issue. Manually browsing helps WinRAR locate the correct volume and resume extraction without interruption .
- Right-click the first file in the series (usually .rar or part1.rar ) and select Extract Here or Extract to Folder .
- When WinRAR cannot find the next volume, it will show the “ Next Volume Is Required ” message.
- A small window will appear, allowing you to manually select the next volume .
- Use the file explorer window to locate the folder where the other archive parts are saved.
- Select the next part based on the naming order (example: select file.part2.rar after file.part1.rar ).
- Make sure the selected file matches the naming format of the archive (no extra characters like (1) and no mismatched numbering).
- WinRAR will resume extraction using the selected volume .
- If additional volumes are missing or stored separately, WinRAR may prompt you again. Repeat the same process until extraction completes.
3. Rename the RAR files in Order
WinRAR relies on a proper naming sequence (such as file.part1.rar , file.part2.rar , file.part3.rar ) to extract multi-volume archives. If a file is named incorrectly, contains extra characters, or is out of order, WinRAR may fail to locate the next volume and show this error. Renaming the files correctly helps WinRAR follow the sequence and extract the archive without interruptions .
Note: Renaming only changes the file name , not the file contents. The goal is to restore the correct sequence so WinRAR can detect the next volume.
- Go to the folder where all the RAR files are saved.
- Make sure all parts of the archive are present and stored in the same folder .
- Check how the parts are currently named . Common patterns include:
file.part1.rar, file.part2.rar, file.part3.rar
file.rar, file.r01, file.r02, file.r03
- Look for files that don’t match the expected numbering pattern (for example, file.part01.rar , file.part1(1).rar , or unrelated names).
- Rename each file so it follows the same order without extra characters or mismatched numbering. Example:
Incorrect: file.part1.rar, file.part3.rar, file.part2(1).rar
Correct: file.part1.rar, file.part2.rar, file.part3.rar
- Make sure the text before the number is exactly the same for all files.
- Only the last part number should change.
- Right-click the first file in the series (usually part1.rar or the main .rar file) and select Extract Here .
- WinRAR should now recognize the sequence and continue extraction normally .
If you still get the same prompt: the archive set is likely incomplete (a part was never downloaded or was removed), or one of the volumes is corrupt and must be re-downloaded from the original source.
