The error: remote repository not found occurs while cloning a repository. It can occur due to two particular reasons.
- URL of the remote repository that you are trying to clone is not correct .
- You might be cloning a private repository but your user credentials are not correct .
There are other reasons as well due which this error can occur which we will discuss later.
Below, we’ve illustrated several examples of this error alongside their respective solutions. We recommend examining each example and its solution, as they cover most scenarios in which this error occurs.
Example 1: Cloning a wrong URL of a repository:
Let’s say we are trying to clone a repo on our computer, and we mistakenly enter a wrong URL to clone. We will get this error:
git: remote repository not found
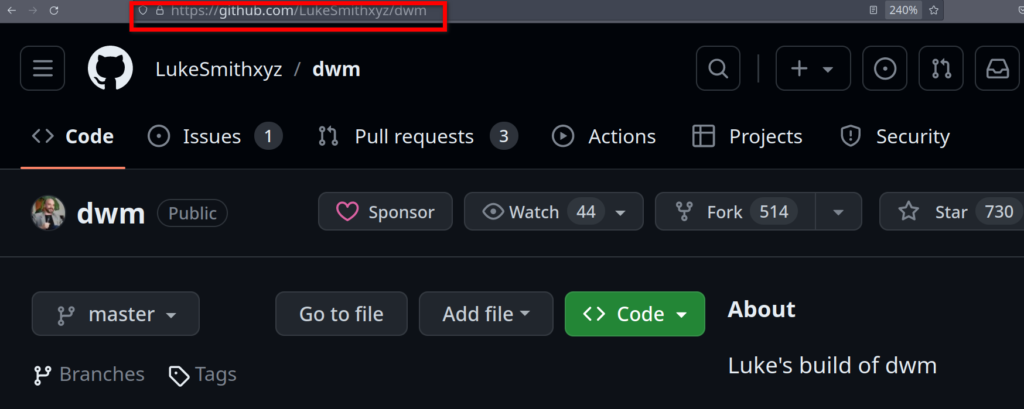
To solve this error, we simply have to go to the GitHub page of the repository that we are trying to clone and click on the code button. Then in the local tab, we click on the clipboard option next to the https field.
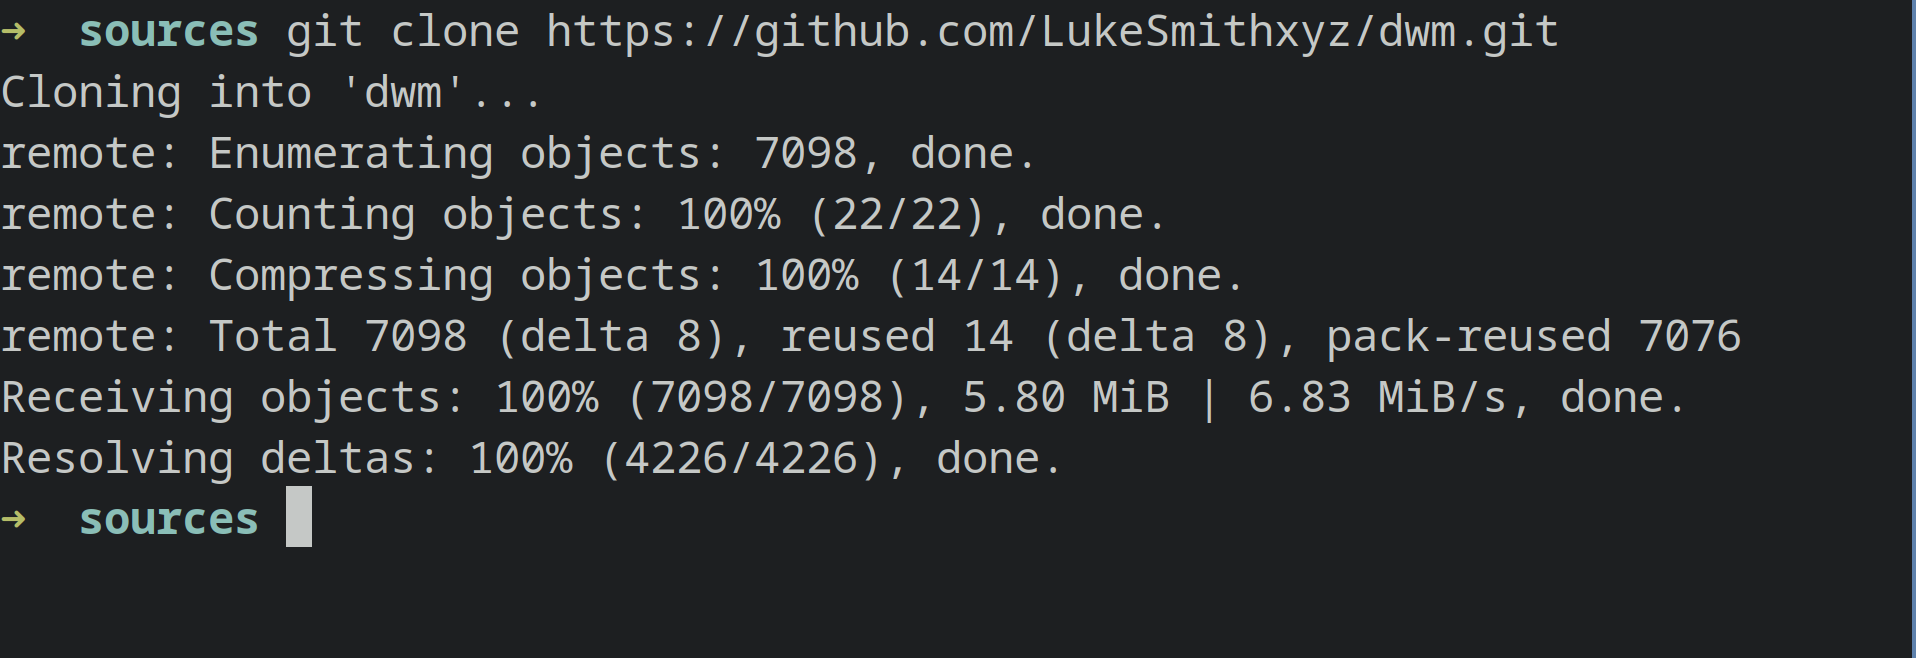
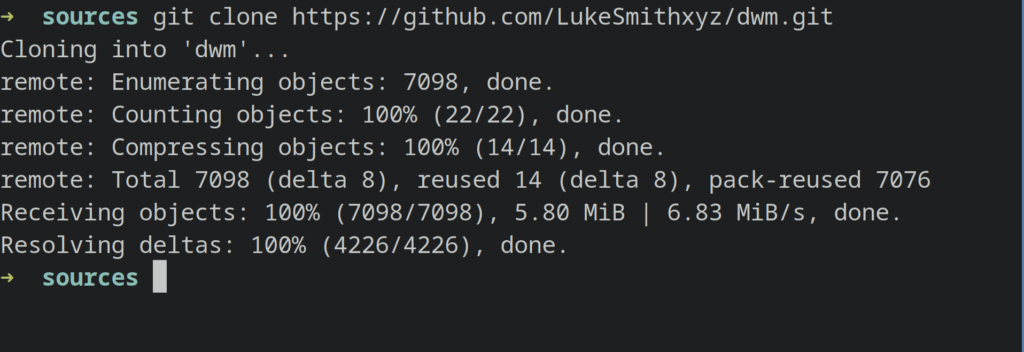
Now we can clone that repository by typing in “ git clone [URL-of-repository] ” and pressing Enter.
Note: Make sure the repository that you are trying to clone is not a private repository as it would need authentication in the form of a private key (as username and password authentication) has been removed from GitHub.
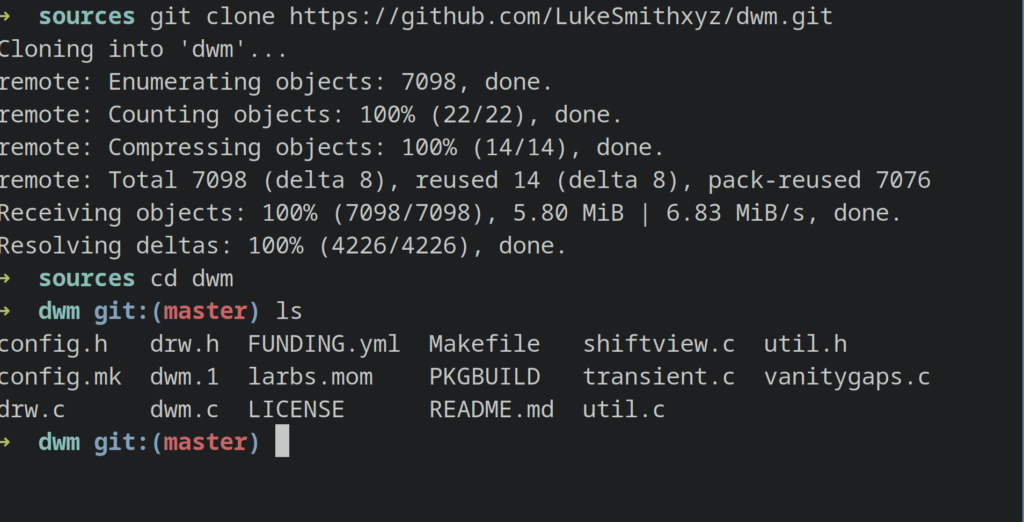
In our scenario, we can simply use “git clone [correct-url-of-repository]” and press enter. Afterward, we can view the contents of the cloned repository by changing the directory to the local cloned repository and executing the “ls” command inside it.
Example 2: Cloning a private repository:
If you are cloning a private repository and facing this error, it is possible that you don’t have the correct credentials for the remote repo to authenticate with and are trying to clone that repository. There are multiple solutions for this scenario.
1. Configure git correctly for authentication
You can set your username and email with the git config command.
You can use this command to set your username:
git config --global user.name "FIRST_NAME LAST_NAME"

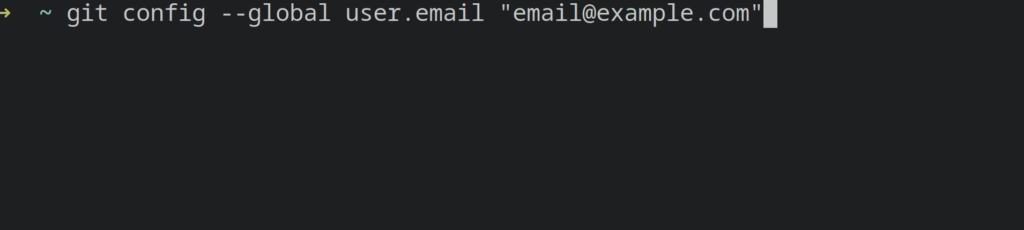
To set your email, you can use this command:
git config --global user.email "email@example.com"
Next, you need to have a valid personal access token for your GitHub account that has read access to the particular repository that you are trying to clone.
If you don’t have a personal access token yet , you can create it by following these steps:
- Login to your GitHub account .
- Click on your profile icon and select Settings from there.
- Scroll down and click on Developer Settings .
- Click on the “ Personal access tokens ”. You can now select either Fine Grained Access Token or Access Tokens (classic), both will work. Fine grained access tokens can be made for authenticating with only a particular repository. For this tutorial, we will use the “ Classic Access Token ”.
- Click on the Tokens (classic).
- Click on Generate New Token on the right hand side of the page and select Generate New Token (classic).
- In the note, type anything you want and then select the permissions that you want this token user should have.
- Select all the permissions if you want to have all permissions or you can just select the repo and admin permissions and then click on Generate Token.
- Now you will see your personal access token on the page . Click on the clipboard icon next to it to copy that token and save it somewhere on your computer if you want for future use. Make sure no one else has access to your token or they can do anything that you are able to do with your repositories using that token.
After, you have copied the token and set your username and email, you can simply put in the command:
git clone [url-of-private-repository]
Git will now ask you for your personal access token, paste the token that you have copied and press Enter.
The remote repository will now be cloned on your computer. You can then cd into the directory to check whether it’s successful or not.
If the above solutions didn’t fix the problem at your end, you can try these solutions listed below.
Give Read / Write Access to a Repository:
This error can also occur if you are trying to clone a repository to which your user doesn’t have read access . If you are cloning a private repository, make sure your access token has the repo permissions all ticked and then try and clone the repository.
If someone else has added you to a project on GitHub, ask them to give your user read access so you can clone the repository. If you want to push changes, ensure that your user has write permissions to the repository as well .
Remove github.com Credentials from your System:
Some users have faced this problem when they had old github.com credentials on their computer while the credentials on github.com have been changed. You can delete the github.com password from the Keychain Access if you are using Mac .
If you are using Windows, you can delete the credentials from the credential manager .
To delete credentials from credential manager in Windows, follow these steps:
- Open Start Menu and search for Control Panel, and then open Control Panel.
- Click on Credential Manager
- Next click on Windows Credentials.
- Under Generic Credentials, clear the credentials referring to github.com
- Click on Remove and click yes on the pop window that opens.
To delete a keychain from the KeyChain Access App on Mac , do this:
- Open Utilities App in MacOS.
- Navigate and select Keychain Access App in the current window. (If the Keychains aren’t visible, click on Window > Keychain Access )
- Select the keychain which you want to delete and click on delete keychain. (In your case, it would be the keychain referring to GitHub or any other git remote repository platform)
- Click on File and then Delete KeyChain.
If any of the above solutions didn’t fix the problem for you you can view the GitHub docs and as well as the git documentation .
As it would most likely fix the problem for you. If that doesn’t help either, you can always comment on this post and one of our technicians will help you with the problem that you are facing.
How to Fix “Printer is in an error state” Issue?
The error “ WinRAR Error: Next Volume Is Required ” usually appears when you’re extracting a multi-part RAR archive and WinRAR can’t find (or can’t correctly identify) the next file in the sequence . This often happens when a volume is missing , stored in a different folder , or renamed in a way that breaks the archive’s expected order .

In this guide, we’ll go over the most reliable fixes confirmed by affected users, along with what each method is doing behind the scenes so you can choose the right one for your situation.
Important: To extract multi-volume archives, you should always start extraction from the first file in the set. This is usually file.part1.rar , or (in older sets) the main .rar file that comes before .r01 , .r02 , and so on.
1. Download and Place the Missing RAR File
WinRAR needs all parts of a multi-volume archive to complete extraction. This error usually appears when one of the volumes in a set like .part2.rar , .r01 , .r02 , .001 , and similar naming formats is missing . Downloading the missing volume and placing it in the same folder as the other parts allows WinRAR to continue extracting normally .
- Look at the error message or review the list of archive parts in the folder.
- Identify which volume is missing (for example, part2.rar , .r02 , .001 , etc.).
- Go back to the website or source where you downloaded the archive.
- Locate and download the exact missing file using the same naming format as the others.
- Make sure the new file name matches the pattern of the rest. Example: If you have file.part1.rar and file.part3.rar , the missing one must be file.part2.rar .
- Move the downloaded missing volume into the same folder as the other archive parts.
- Confirm that all parts are in a single folder before extracting.
- Right-click the first file in the series (usually part1 or the main .rar file) and select Extract Here or Extract to Folder .
- WinRAR should now detect all volumes and continue extraction normally .
2. Manually Browse & Select the Next Volume
Use this method only if the next volume already exists , but WinRAR is failing to detect it automatically. This can happen due to incorrect naming , the file being in a different location , or a temporary file access issue. Manually browsing helps WinRAR locate the correct volume and resume extraction without interruption .
- Right-click the first file in the series (usually .rar or part1.rar ) and select Extract Here or Extract to Folder .
- When WinRAR cannot find the next volume, it will show the “ Next Volume Is Required ” message.
- A small window will appear, allowing you to manually select the next volume .
- Use the file explorer window to locate the folder where the other archive parts are saved.
- Select the next part based on the naming order (example: select file.part2.rar after file.part1.rar ).
- Make sure the selected file matches the naming format of the archive (no extra characters like (1) and no mismatched numbering).
- WinRAR will resume extraction using the selected volume .
- If additional volumes are missing or stored separately, WinRAR may prompt you again. Repeat the same process until extraction completes.
3. Rename the RAR files in Order
WinRAR relies on a proper naming sequence (such as file.part1.rar , file.part2.rar , file.part3.rar ) to extract multi-volume archives. If a file is named incorrectly, contains extra characters, or is out of order, WinRAR may fail to locate the next volume and show this error. Renaming the files correctly helps WinRAR follow the sequence and extract the archive without interruptions .
Note: Renaming only changes the file name , not the file contents. The goal is to restore the correct sequence so WinRAR can detect the next volume.
- Go to the folder where all the RAR files are saved.
- Make sure all parts of the archive are present and stored in the same folder .
- Check how the parts are currently named . Common patterns include:
file.part1.rar, file.part2.rar, file.part3.rar
file.rar, file.r01, file.r02, file.r03
- Look for files that don’t match the expected numbering pattern (for example, file.part01.rar , file.part1(1).rar , or unrelated names).
- Rename each file so it follows the same order without extra characters or mismatched numbering. Example:
Incorrect: file.part1.rar, file.part3.rar, file.part2(1).rar
Correct: file.part1.rar, file.part2.rar, file.part3.rar
- Make sure the text before the number is exactly the same for all files.
- Only the last part number should change.
- Right-click the first file in the series (usually part1.rar or the main .rar file) and select Extract Here .
- WinRAR should now recognize the sequence and continue extraction normally .
If you still get the same prompt: the archive set is likely incomplete (a part was never downloaded or was removed), or one of the volumes is corrupt and must be re-downloaded from the original source.
