Office 365 combines the various software from Microsoft that is used in our day to day life. Since MS Office combines them into one installation, users do not really have to worry about installing individual software one by one which is really convenient. One of the issues that is faced by users while using Office 365 is the No Internet Connection error message. The error can be seen when a user tries to go to the File menu inside Word, Excel, or any other MS Office application. Now, this would make sense and could be ignored if the user didn’t have an internet connection. However, that is not the case.
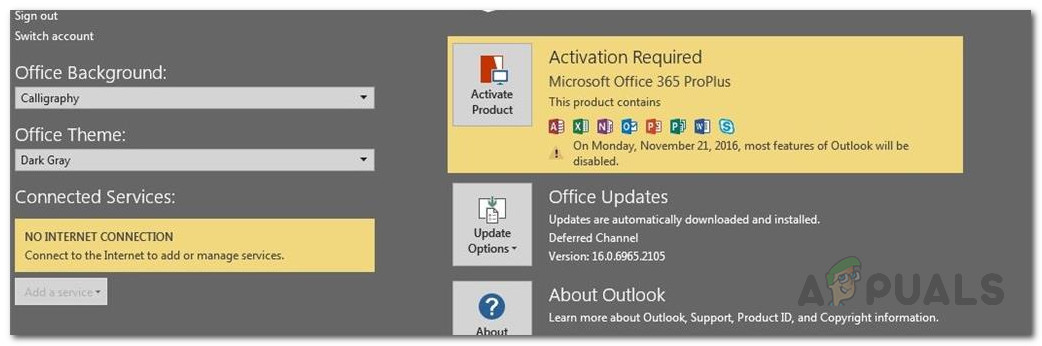
Office 365 No Internet Connection
As it turns out, the error message appears even when users have an active internet connection. Although you are still able to use the application and do whatever you want, there are still some features that do not work when you do not have an internet connection. For example, if you turned on OneDrive syncing so that your files are automatically synced to the cloud, the error message prevents that from working. Now, why is this error message displayed even when you have an internet connection? As it turns out, there are some nuisances that can cause the said issue and we will mention down below. So, let us get into it.
- Third-Party VPN — As it turns out, the most obvious cause of the error message happens to be a third-party VPN. In some cases, the VPN that you have installed and MS Office do not work properly together and thus it prevents Office from establishing an internet connection to its servers. As a result, the said error message is displayed. This can be easily fixed by disabling the VPN that you are using.
- Ethernet Adapter — In some cases, the error message can also appear due to your system’s ethernet adapter. Turns out, your ethernet adapter might malfunction in some scenarios due to which Office is not able to connect to the internet. This can be easily rectified by simply restarting the adapter.
- Network List and Location Services — Finally, another cause of the error message can be two network services that can be found in the Windows Services window. Similar to the ethernet adapter, you will just have to restart the mentioned network services to get back up and running.
Now that we have been through the possible causes of the issue, let us get into the methods that you can use to resolve the issue. Before we begin, it is important to note that in some cases, Office just launches in offline mode due to which you see the error message. To fix this, what you have to do is go to the File menu and then go to the Account tab. There you will see an option to connect to the internet at the bottom-left corner. Do that and see if that fixes the issue. In case it doesn’t, follow the methods down below.
Method 1: Disable Ethernet Adapter
The first thing that you should do when you face the error message is to disable your primary ethernet adapter. Once you do that, you can turn it on again and then launch MS Office. This can often solve network connectivity issues and it might solve your MS Office connection issue as well. This has been reported by several users facing the same problem. To do this, follow the instructions given down below:
- First of all, right-click on the network icon located on your taskbar at the bottom-left.
- Then, from the menu, just choose Open Network and Internet settings .
- From there, click on the Change adapter options option. This will take you to a new window with your network adapter. Network Settings
- Find your primary network adapter and right-click on it. From the drop-down list, choose Disable . Disabling Ethernet Adapter
- Once it has been disabled, right-click on it again and then choose Enable from the drop-down list.
- Finally, open MS Office again to see if that fixes the issue.
Method 2: Disable Third-Party VPN
Another way that you can solve this issue is by disabling your third-party VPN. As it turns out, if you are connected to the internet through your third-party VPN , MS Office might not be able to establish a connection. Such issues are pretty common with third-party VPNs and happen pretty often. Therefore, in order to fix your issue, you will have to turn off your VPN and then try opening MS Office. Once you have turned off your VPN, make sure that you have an active connection or the issue will persist.
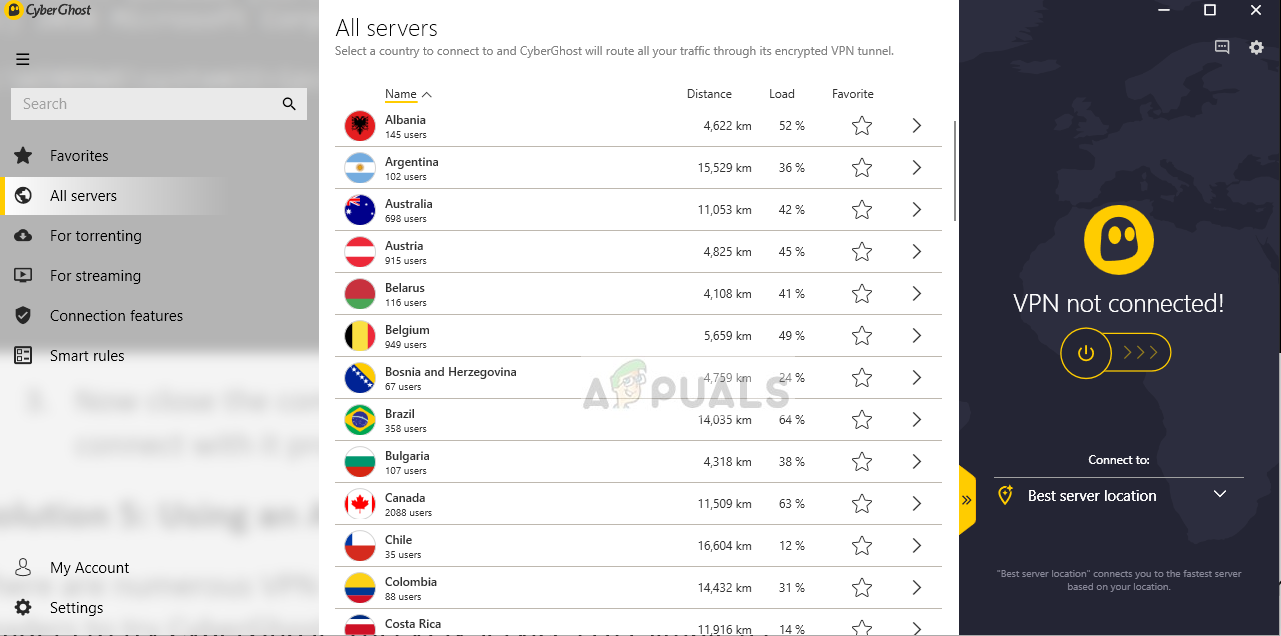
Disabled VPN
If that fixes your issue, what you can do is whitelist MS Office applications on your VPN. Once you have done that, you can try checking if the issue is solved even with the VPN turned on.
Method 3: Restart Network Services
Finally, if the above solutions do not work out for or are not applicable to you, your issue may very likely be caused by two of the network services. Network List service is used to identify the network to which your computer is connected and then if anything changes, it notifies the applications. Network Location Awareness service almost does the same thing. The difference being it collects configuration information for the network. Now, if these services are stopped, the configuration information may not be available to the applications which can cause network connectivity issues such as this one. Therefore, you will have to make sure that the services are running and if they already are, you will have to restart them. Follow the instructions down below to do this:
- First of all, press the Windows key + R to open up the Run dialog box.
- There, type services.msc and then press Enter .
- This will open up the Services window.
- From the list of the services, press the N key to be taken to the services starting with N. Now, search for the Network List and Network Location Awareness services. They are listed together often. Windows Services
- Double-click on the services one-by-one and then start them up by clicking the Start button.
- In case they are already running, click the Stop button and then click Start to restart them. Network List Service Properties
- See if that fixes your issue.
How to Fix “Printer is in an error state” Issue?
The error “ WinRAR Error: Next Volume Is Required ” usually appears when you’re extracting a multi-part RAR archive and WinRAR can’t find (or can’t correctly identify) the next file in the sequence . This often happens when a volume is missing , stored in a different folder , or renamed in a way that breaks the archive’s expected order .

In this guide, we’ll go over the most reliable fixes confirmed by affected users, along with what each method is doing behind the scenes so you can choose the right one for your situation.
Important: To extract multi-volume archives, you should always start extraction from the first file in the set. This is usually file.part1.rar , or (in older sets) the main .rar file that comes before .r01 , .r02 , and so on.
1. Download and Place the Missing RAR File
WinRAR needs all parts of a multi-volume archive to complete extraction. This error usually appears when one of the volumes in a set like .part2.rar , .r01 , .r02 , .001 , and similar naming formats is missing . Downloading the missing volume and placing it in the same folder as the other parts allows WinRAR to continue extracting normally .
- Look at the error message or review the list of archive parts in the folder.
- Identify which volume is missing (for example, part2.rar , .r02 , .001 , etc.).
- Go back to the website or source where you downloaded the archive.
- Locate and download the exact missing file using the same naming format as the others.
- Make sure the new file name matches the pattern of the rest. Example: If you have file.part1.rar and file.part3.rar , the missing one must be file.part2.rar .
- Move the downloaded missing volume into the same folder as the other archive parts.
- Confirm that all parts are in a single folder before extracting.
- Right-click the first file in the series (usually part1 or the main .rar file) and select Extract Here or Extract to Folder .
- WinRAR should now detect all volumes and continue extraction normally .
2. Manually Browse & Select the Next Volume
Use this method only if the next volume already exists , but WinRAR is failing to detect it automatically. This can happen due to incorrect naming , the file being in a different location , or a temporary file access issue. Manually browsing helps WinRAR locate the correct volume and resume extraction without interruption .
- Right-click the first file in the series (usually .rar or part1.rar ) and select Extract Here or Extract to Folder .
- When WinRAR cannot find the next volume, it will show the “ Next Volume Is Required ” message.
- A small window will appear, allowing you to manually select the next volume .
- Use the file explorer window to locate the folder where the other archive parts are saved.
- Select the next part based on the naming order (example: select file.part2.rar after file.part1.rar ).
- Make sure the selected file matches the naming format of the archive (no extra characters like (1) and no mismatched numbering).
- WinRAR will resume extraction using the selected volume .
- If additional volumes are missing or stored separately, WinRAR may prompt you again. Repeat the same process until extraction completes.
3. Rename the RAR files in Order
WinRAR relies on a proper naming sequence (such as file.part1.rar , file.part2.rar , file.part3.rar ) to extract multi-volume archives. If a file is named incorrectly, contains extra characters, or is out of order, WinRAR may fail to locate the next volume and show this error. Renaming the files correctly helps WinRAR follow the sequence and extract the archive without interruptions .
Note: Renaming only changes the file name , not the file contents. The goal is to restore the correct sequence so WinRAR can detect the next volume.
- Go to the folder where all the RAR files are saved.
- Make sure all parts of the archive are present and stored in the same folder .
- Check how the parts are currently named . Common patterns include:
file.part1.rar, file.part2.rar, file.part3.rar
file.rar, file.r01, file.r02, file.r03
- Look for files that don’t match the expected numbering pattern (for example, file.part01.rar , file.part1(1).rar , or unrelated names).
- Rename each file so it follows the same order without extra characters or mismatched numbering. Example:
Incorrect: file.part1.rar, file.part3.rar, file.part2(1).rar
Correct: file.part1.rar, file.part2.rar, file.part3.rar
- Make sure the text before the number is exactly the same for all files.
- Only the last part number should change.
- Right-click the first file in the series (usually part1.rar or the main .rar file) and select Extract Here .
- WinRAR should now recognize the sequence and continue extraction normally .
If you still get the same prompt: the archive set is likely incomplete (a part was never downloaded or was removed), or one of the volumes is corrupt and must be re-downloaded from the original source.
